")
Right this moment, I’ll present you how one can simply create your first web site utilizing Wix, which is free for primary use. We’ll undergo selecting designs, including textual content, and importing photos and logos.
By the top of this information, you’ll be able to launch your personal web site.
")
Signing Up and Beginning on Wix
First, go to Wix.com and join an account to get began.
After you create your account, Wix will immediate you with just a few questions to assist tailor the setup course of. Though Wix affords to arrange your web site utilizing AI, we’ll proceed manually right now, so I’ll information you thru every step with out AI help.

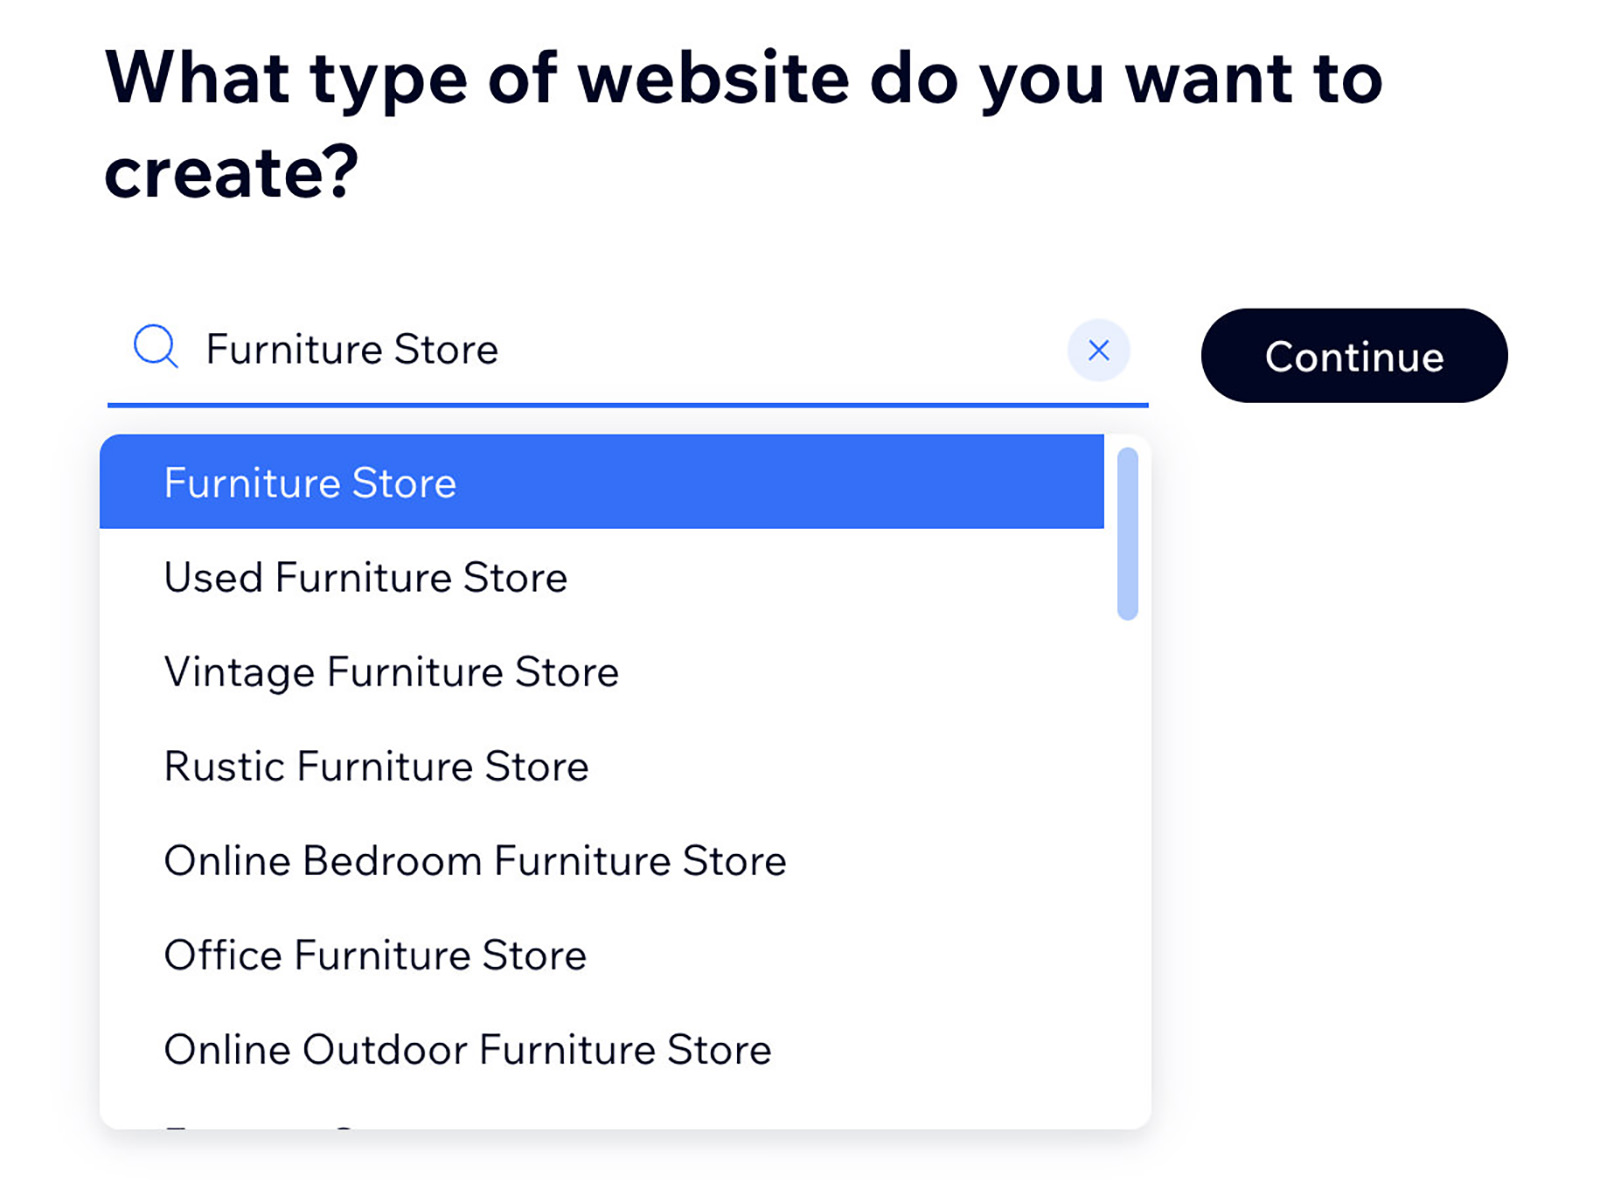
Selecting Your Web site Kind
Subsequent, Wix will ask what sort of web site you’d prefer to create.
For this tutorial, we’re organising a web site for a furnishings retailer. Wix affords all kinds of designs, and don’t fear – when you change your thoughts a couple of design, it’s easy to return and select one other one.
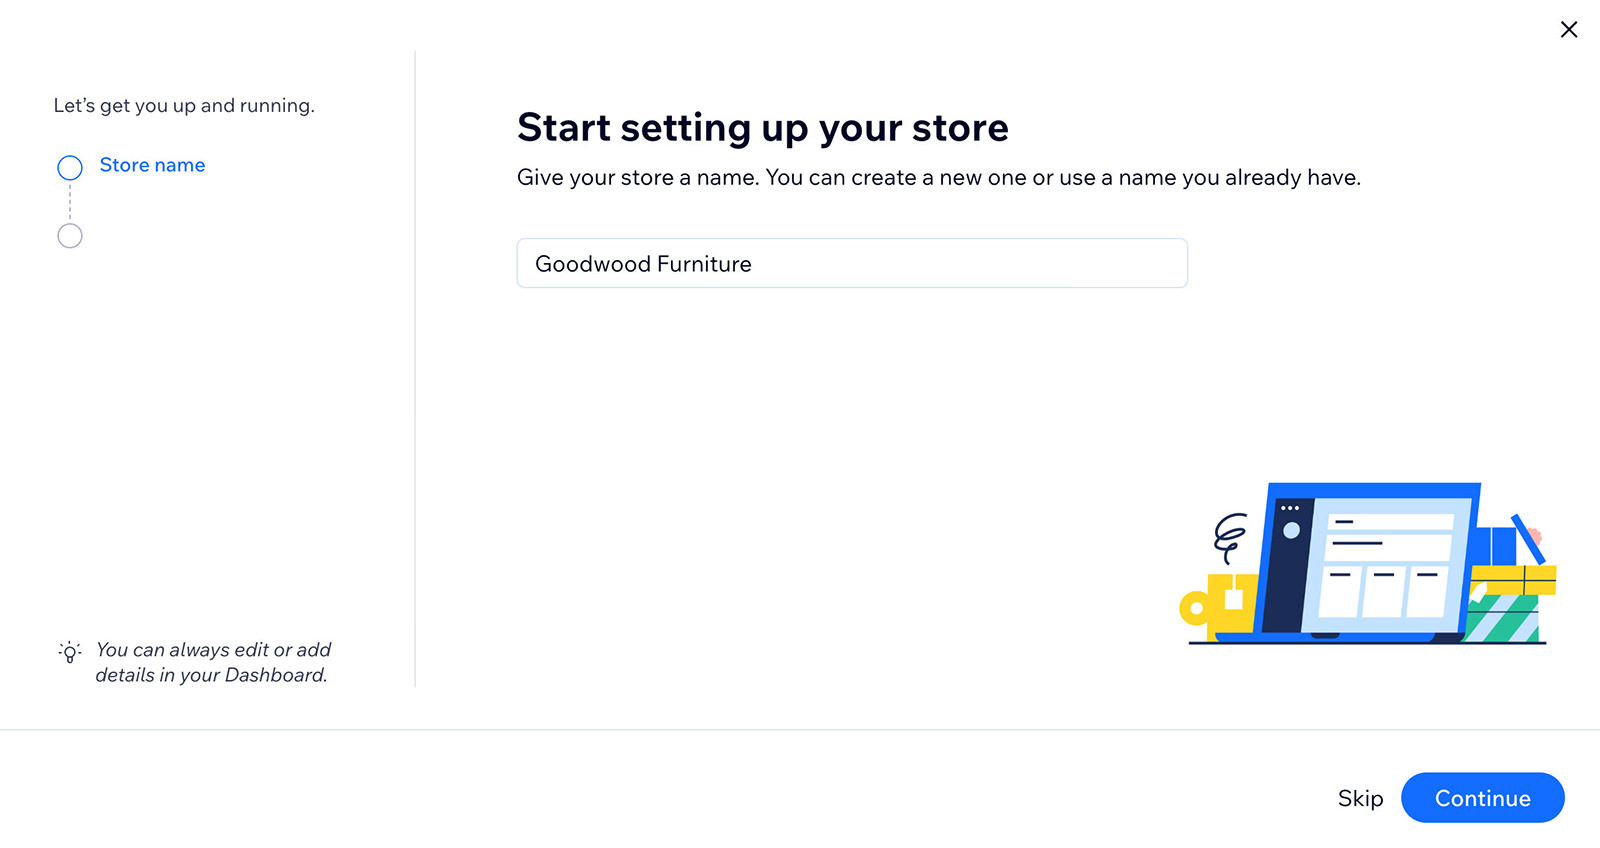
Setting Up Your Retailer on Wix
After selecting your web site sort, Wix will ask you many questions on your enterprise. Whereas some questions may be extra pertinent than others, it’s good to reply all of them to tailor your web site successfully.
When you’ve accomplished this step, click on ‘Proceed‘ to maneuver ahead.
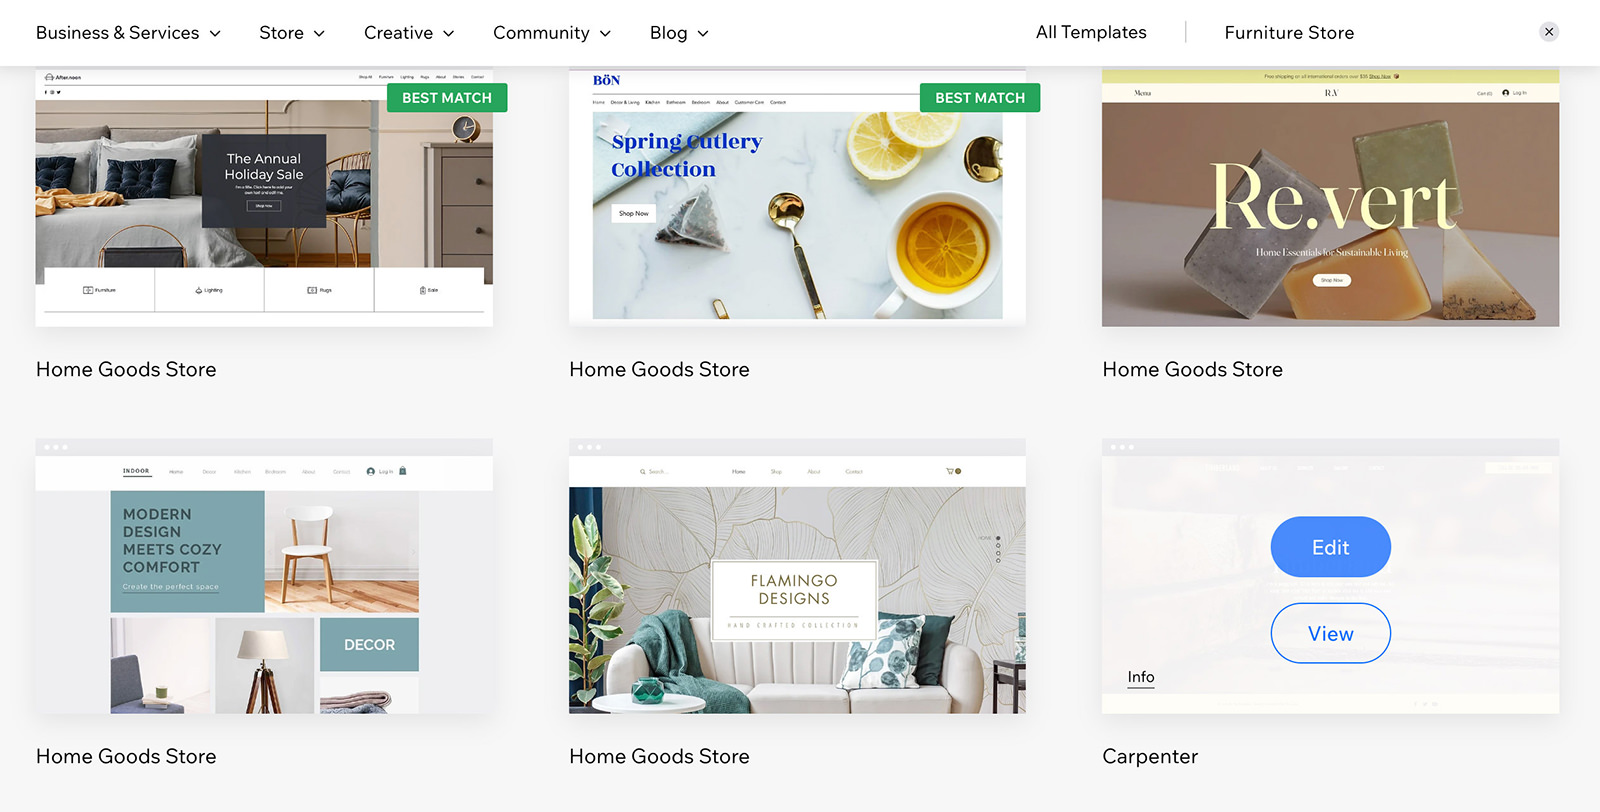
Deciding on and Customizing a Template
When you’re set, you may navigate to ‘Design Website‘ > ‘Choose a Template‘. Wix affords a various vary of templates to select from.
Discover one which catches your eye and click on ‘Edit‘ to begin customizing it to your wants.
Navigating the Web site Builder Dashboard
When you’ve chosen a template, you’ll be taken to your web site builder dashboard. On the left-hand facet, you’ll discover the first navigation menu. That is the place you may add components, create new pages, and design your web site.
You even have the choice to combine apps and embrace extra enterprise info as wanted.
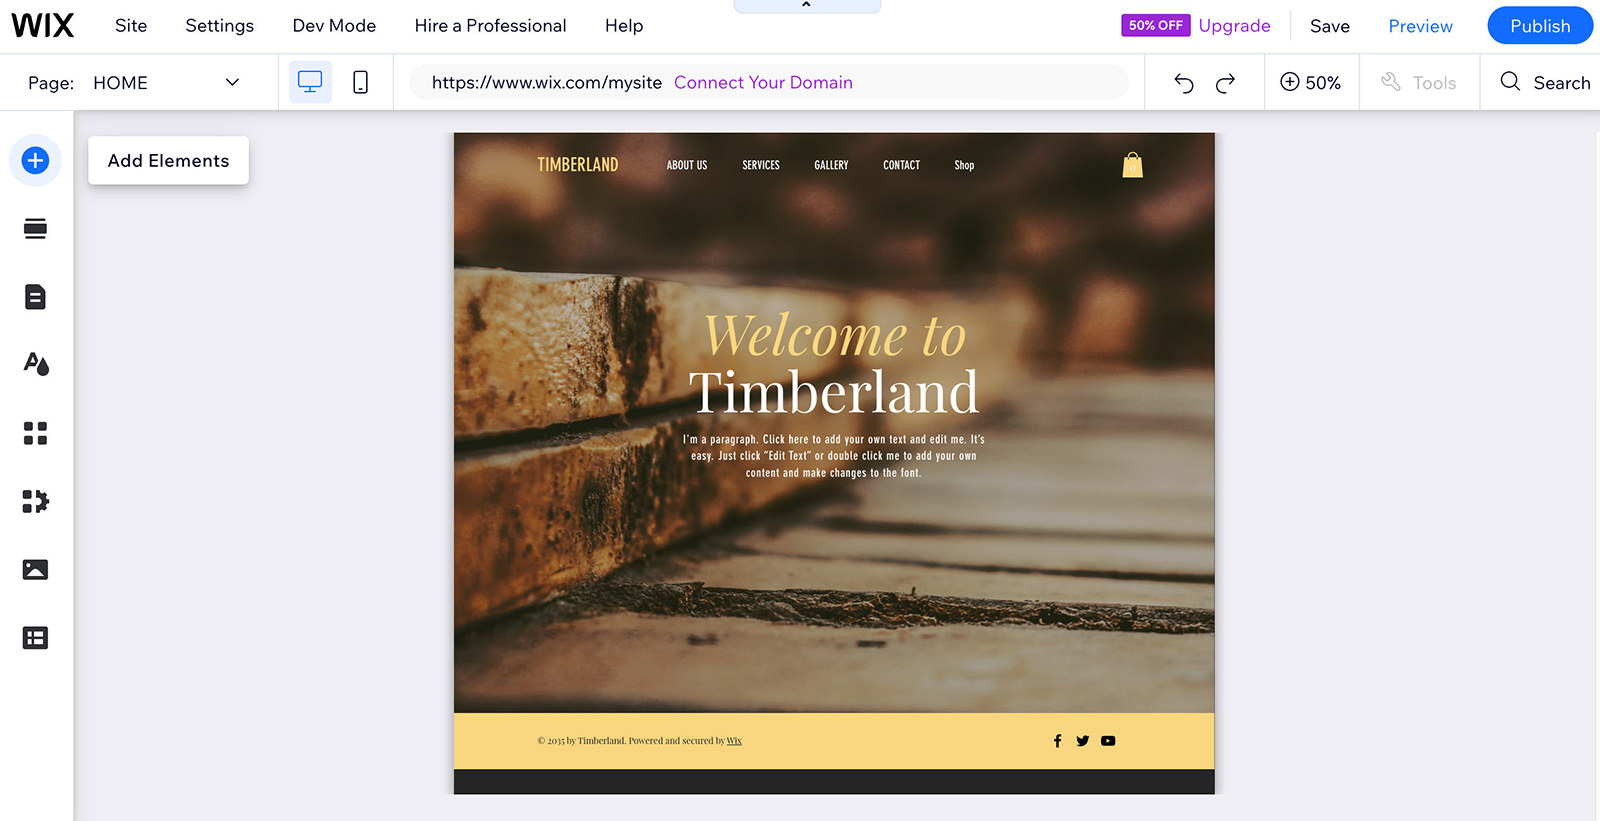
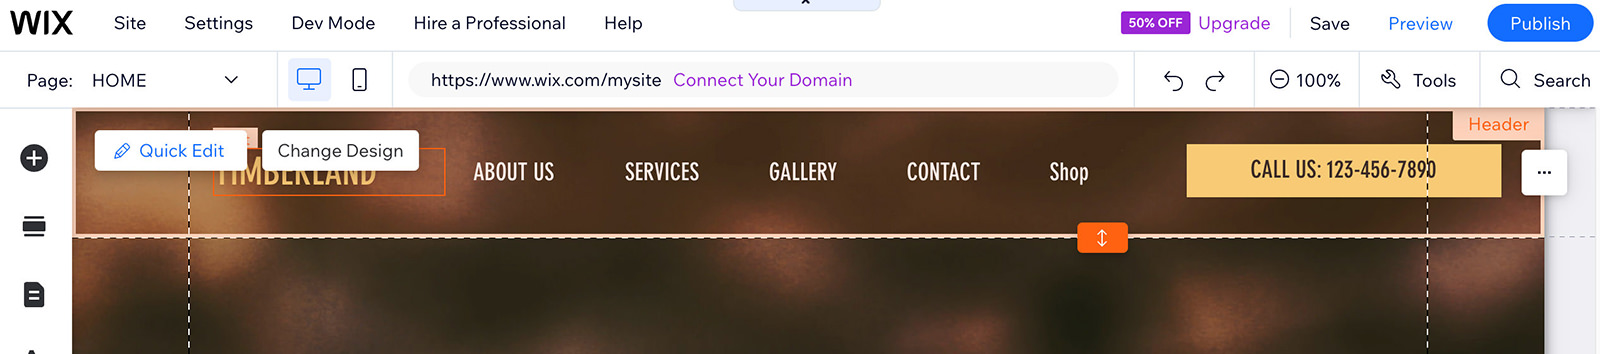
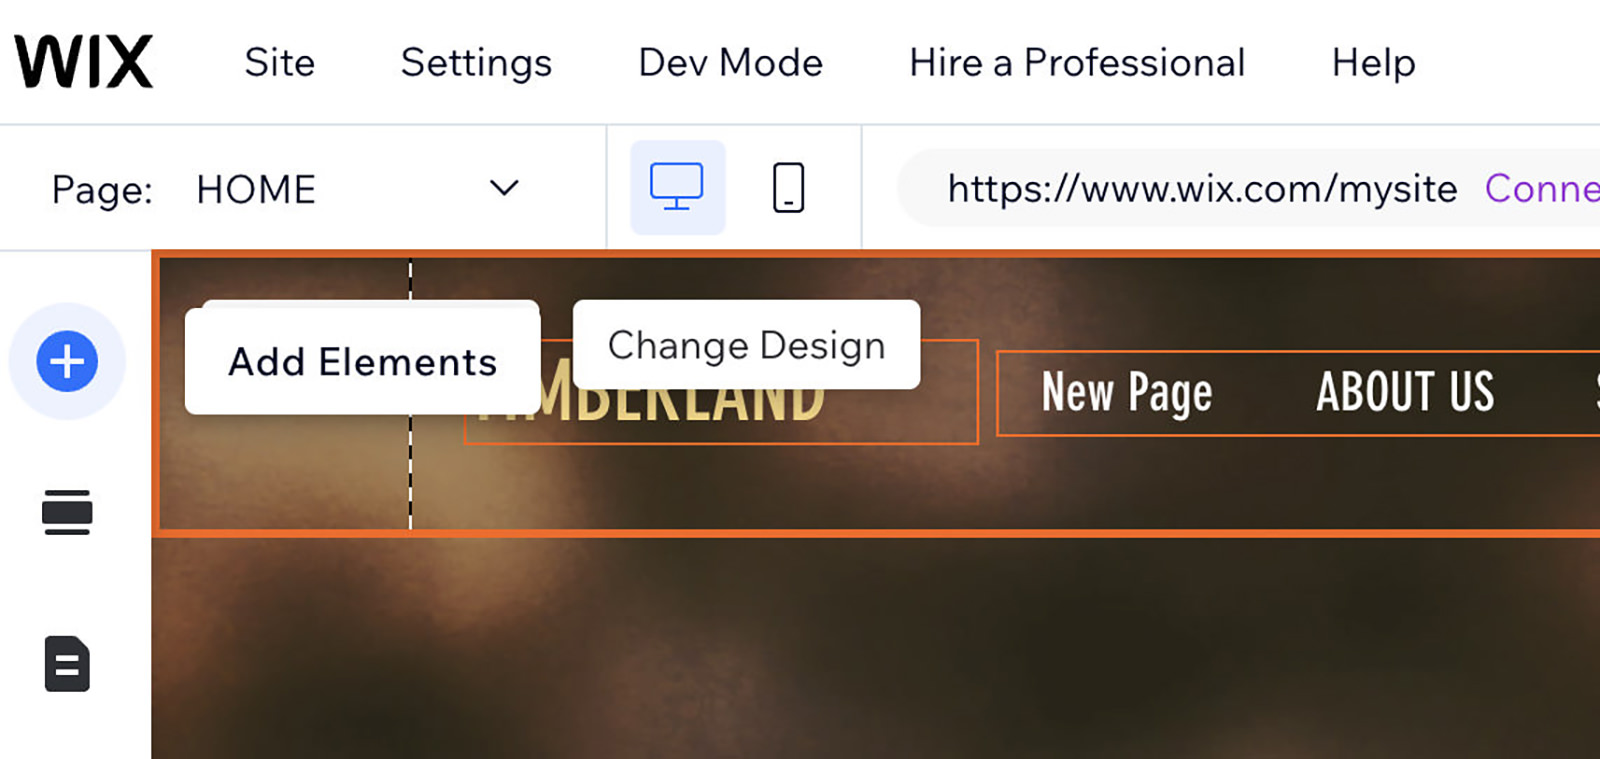
Modifying the Web site Header
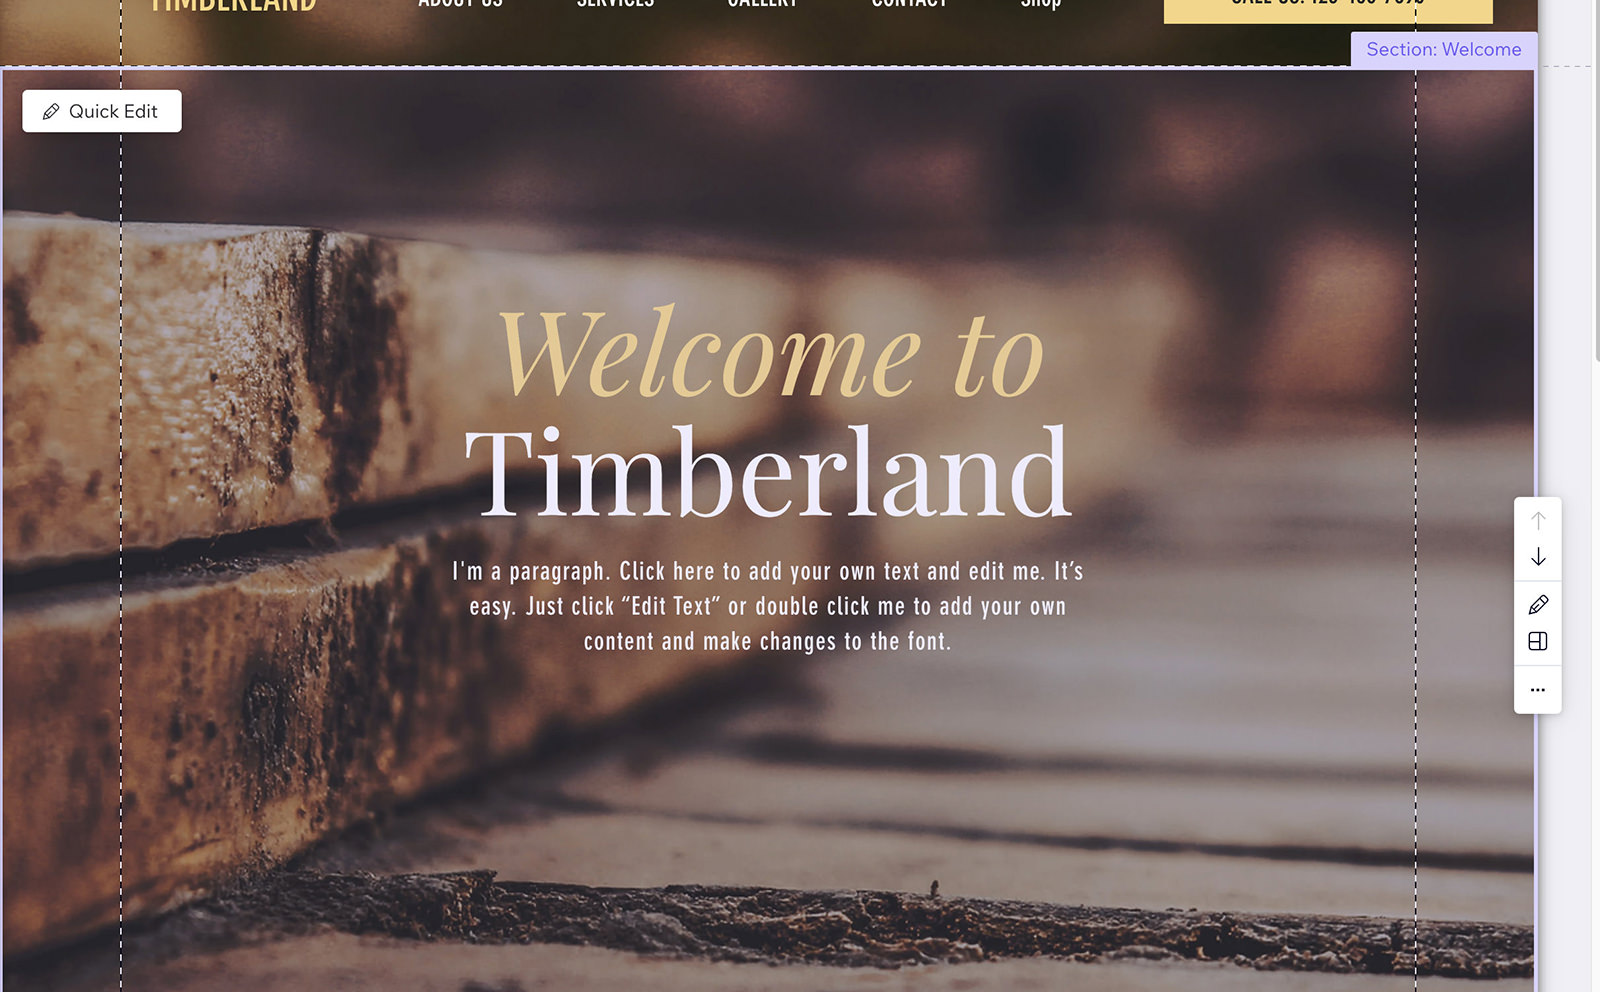
Let’s discover the default structure Wix supplies. The header on the prime serves as a key navigation device, making it simple for guests to maneuver between completely different pages and sections. To be taught extra about every part, hover over it, and Wix will show its identify, serving to you determine areas to edit.

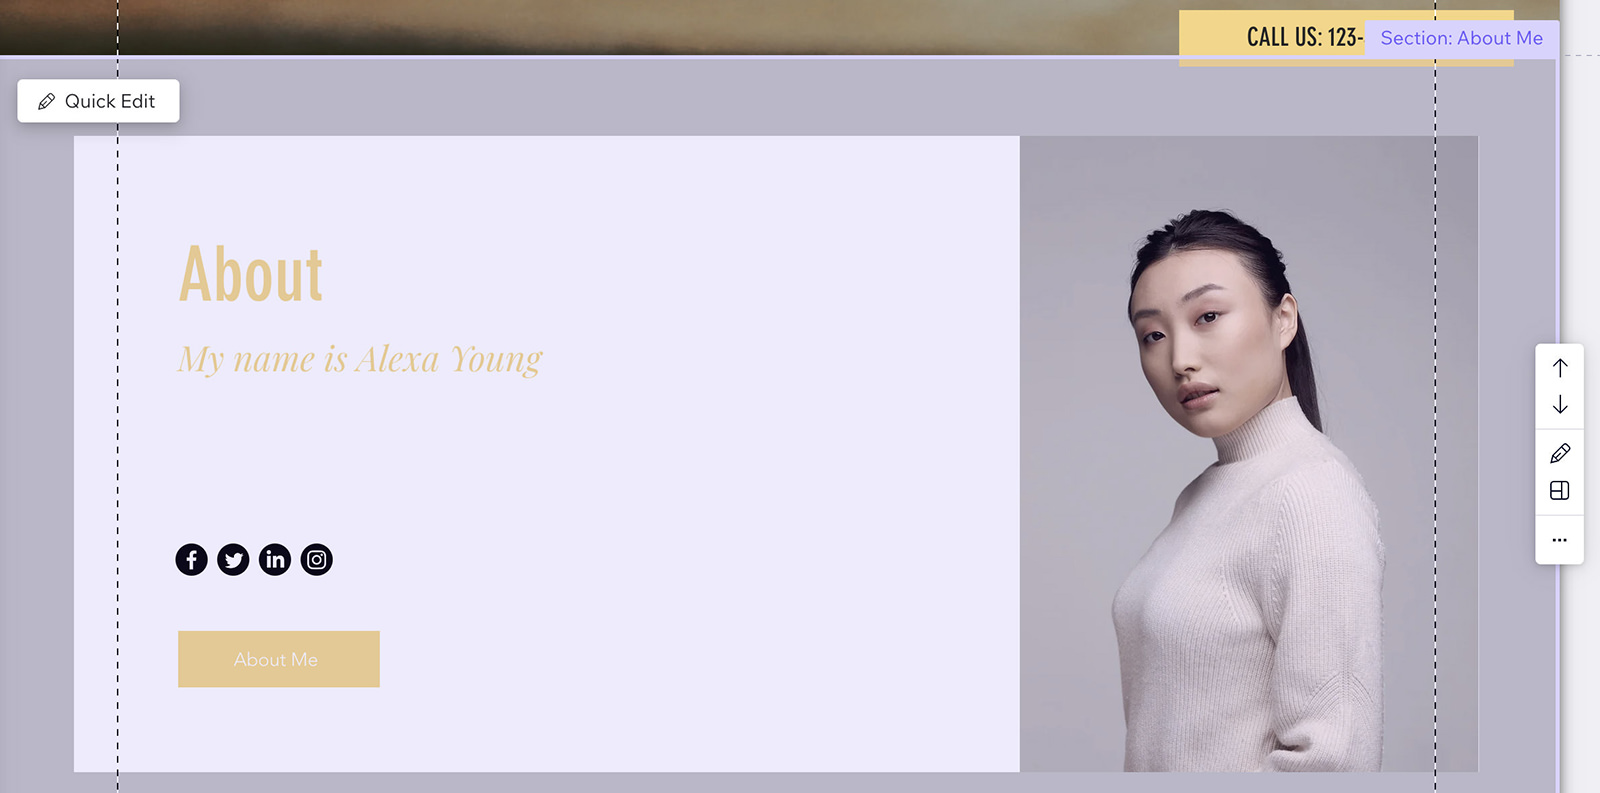
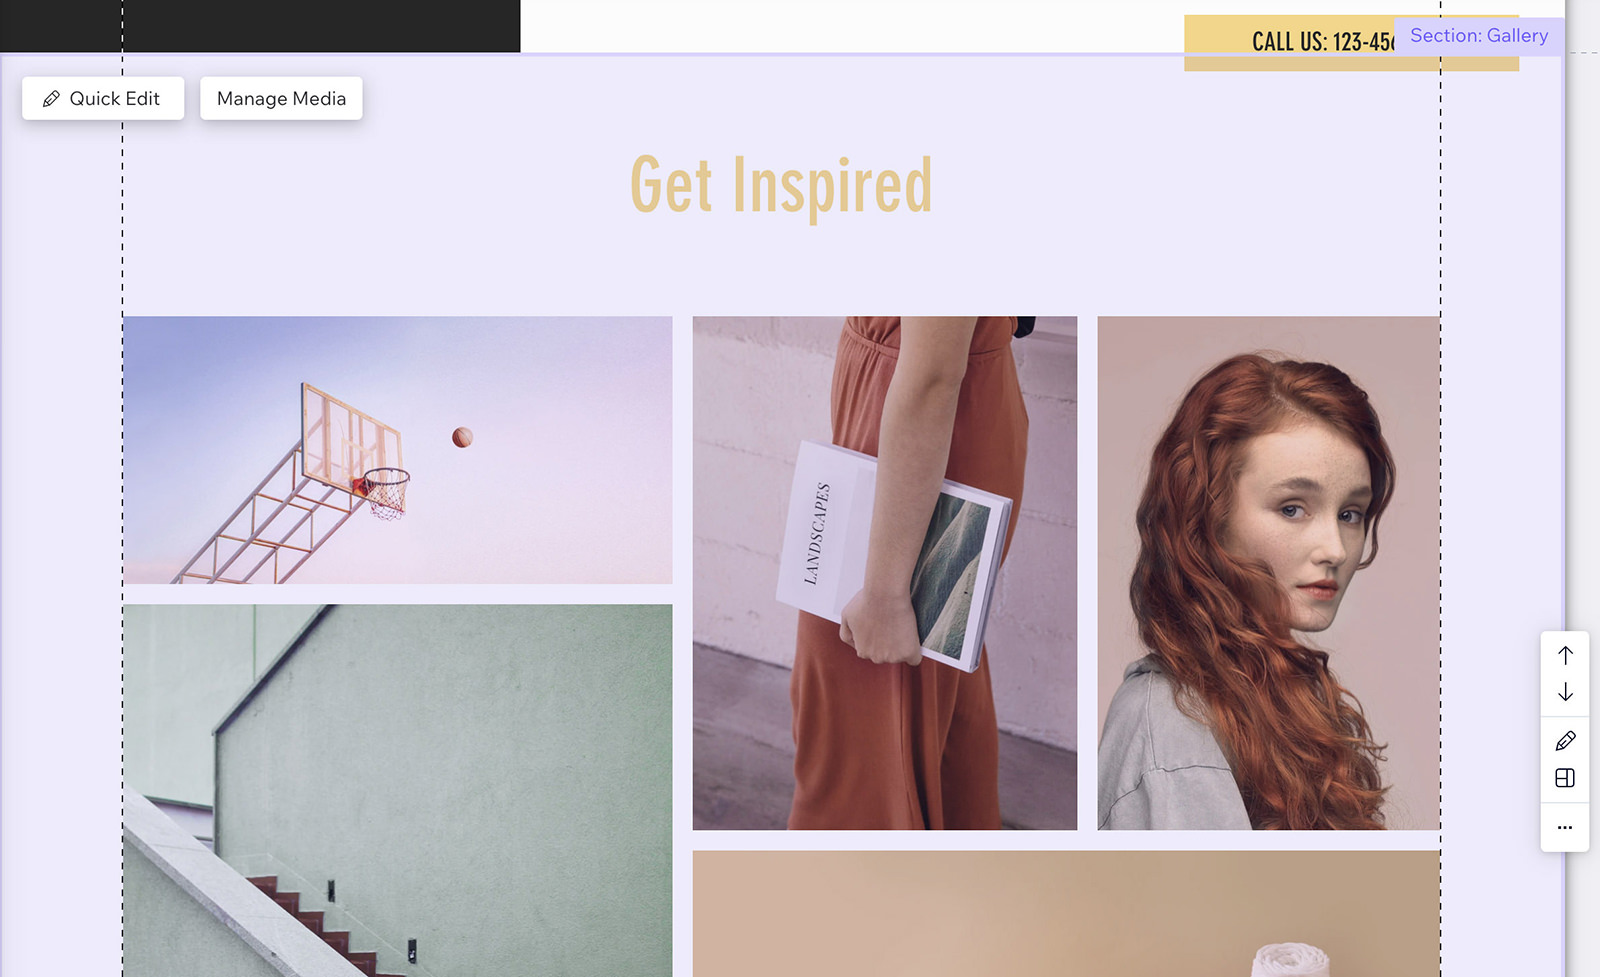
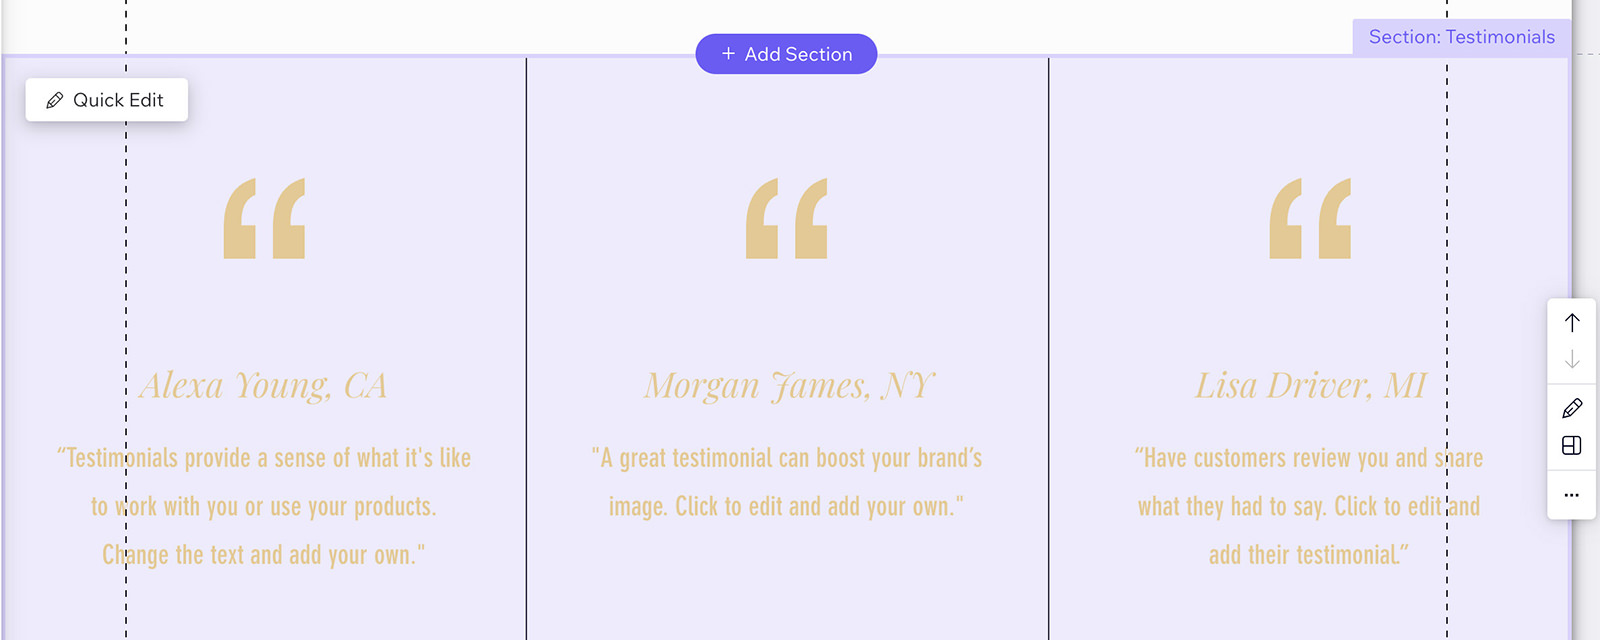
As we scroll down, we discover a number of components Wix has arrange: a big picture, an About part, a gallery, consumer testimonials, and a ‘Get in Contact‘ kind. Every performs an important position in partaking guests.

The footer, discovered on the backside of the web page, will likely be edited later.

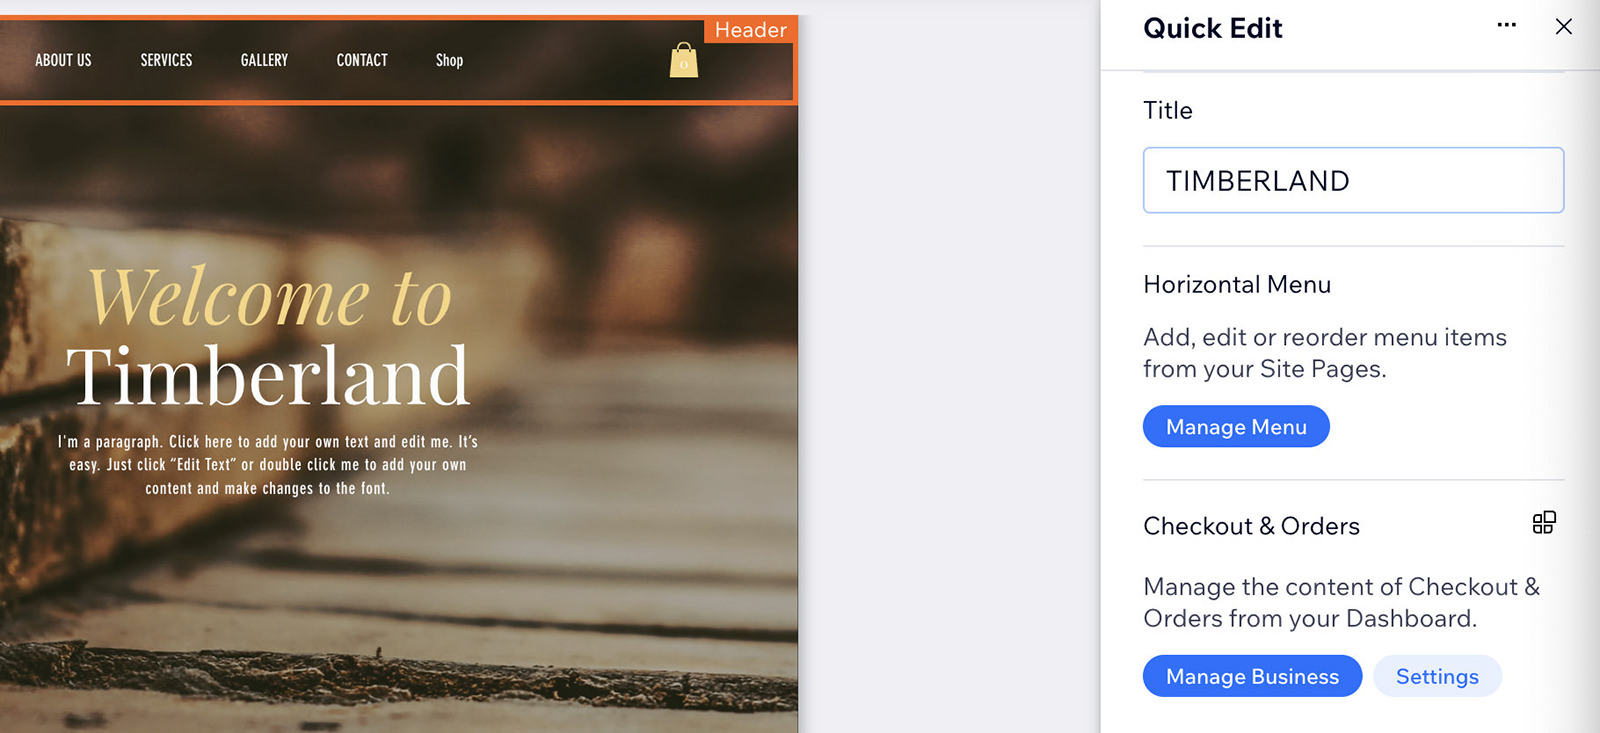
We’ll begin modifying from the highest, starting with the header, the place I’ll choose ‘Fast Edit‘ to make changes.
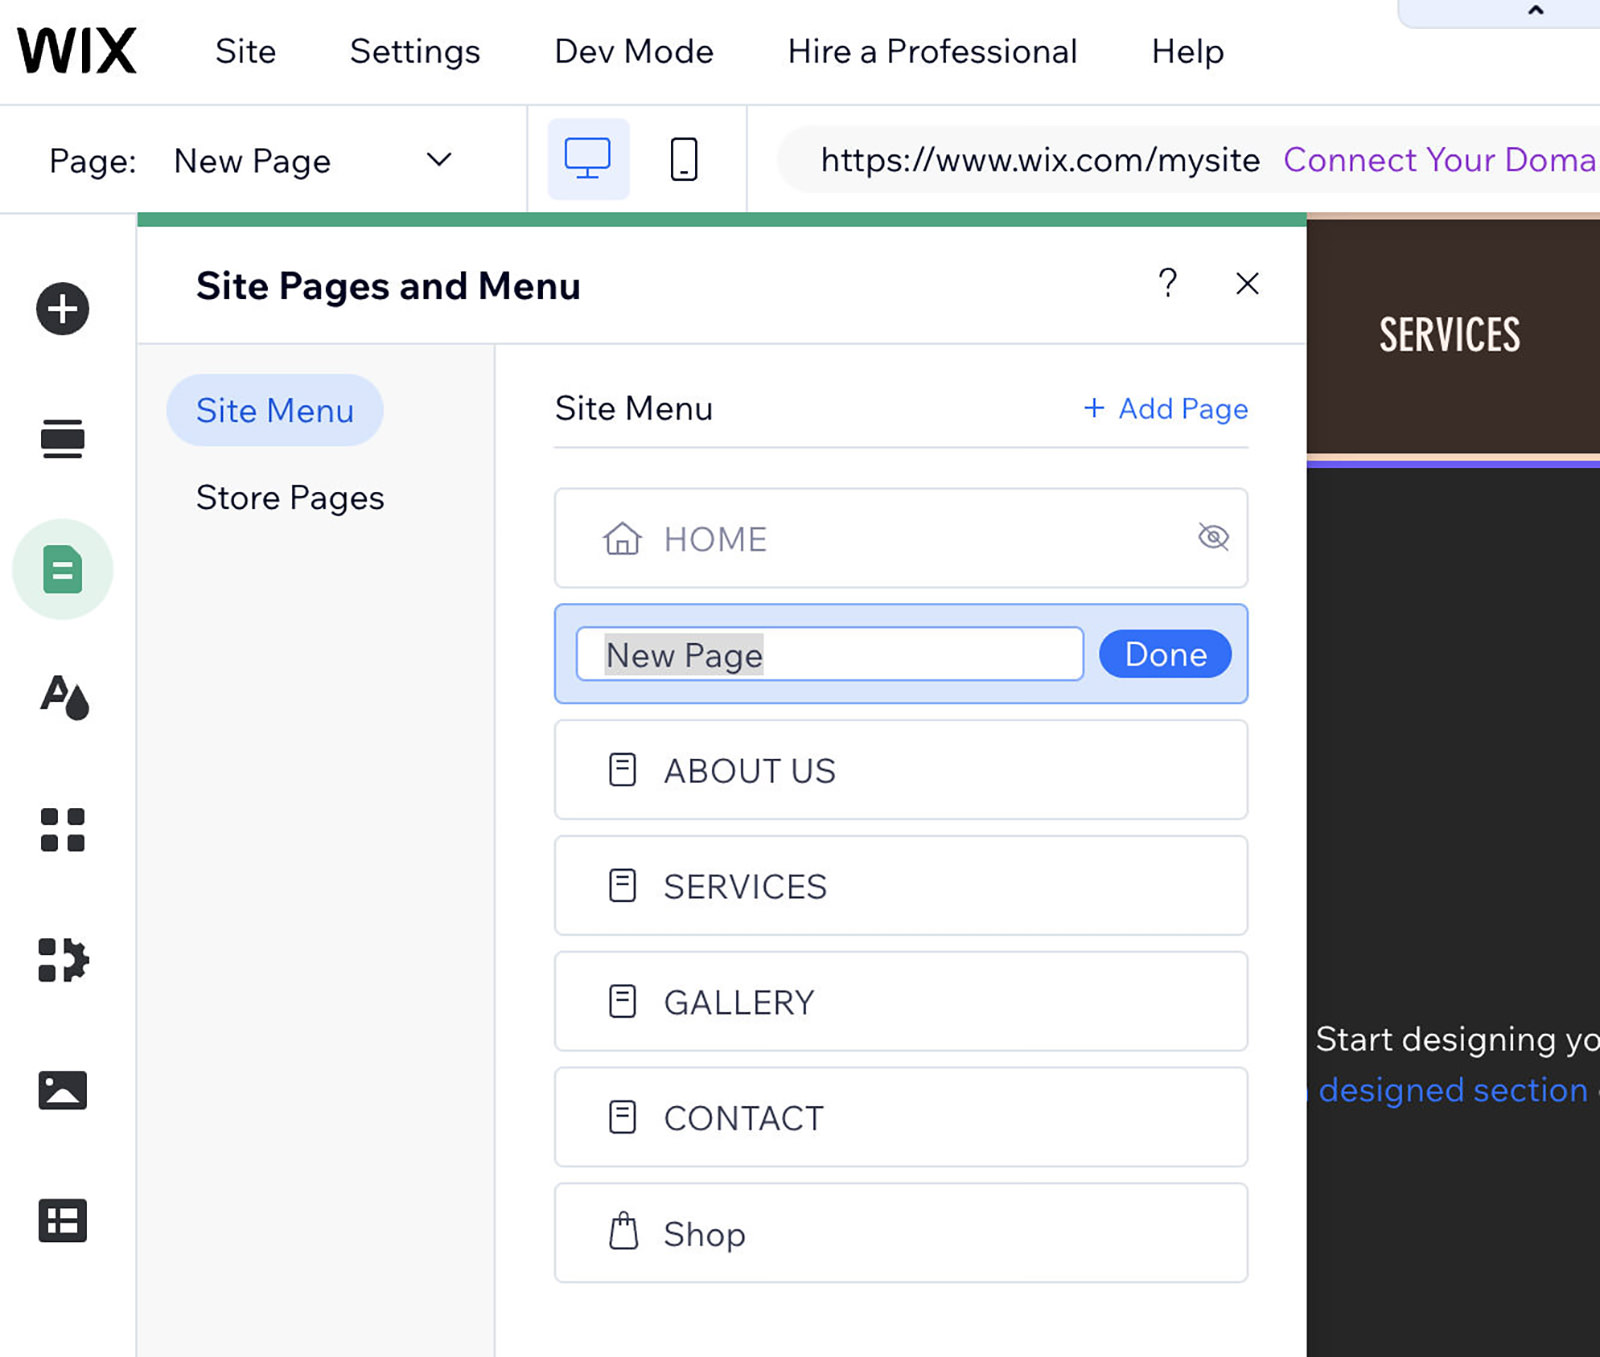
Managing the Web site Menu
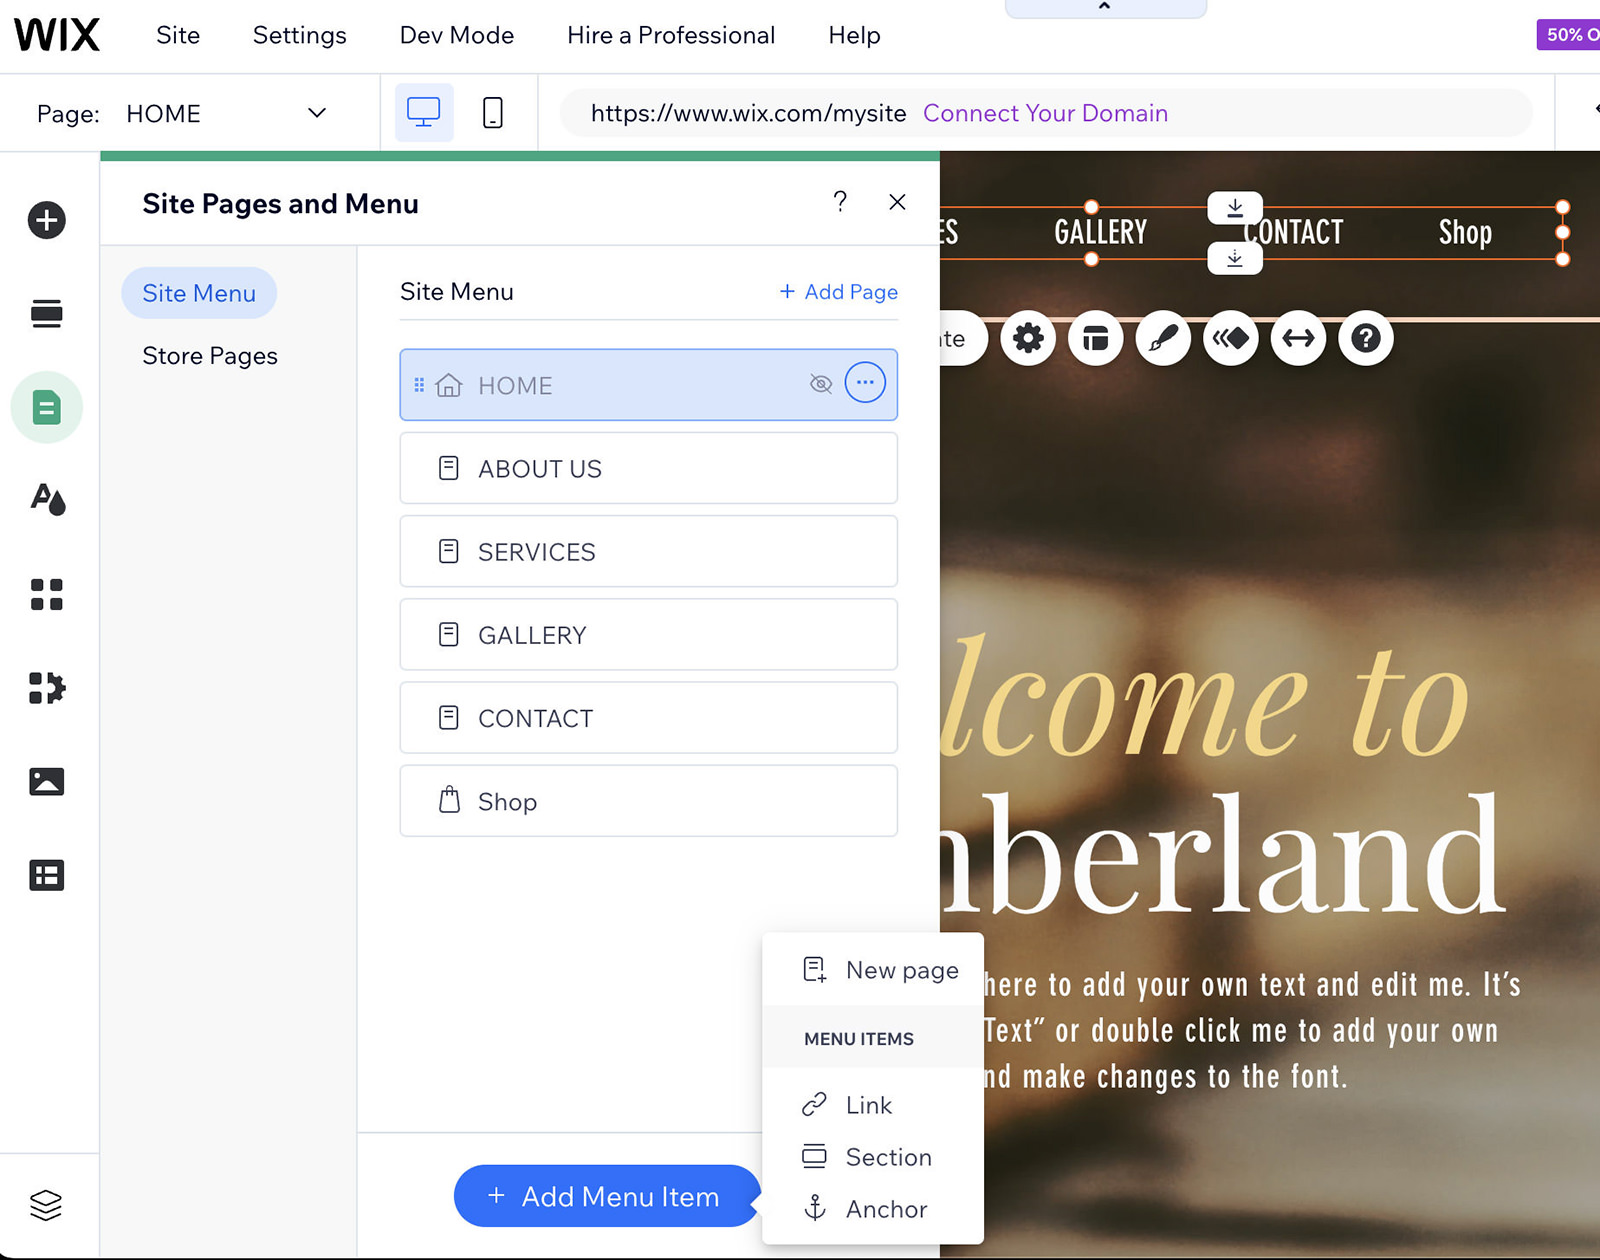
Subsequent, click on on ‘Handle Menu‘ to determine which pages will seem in your web site.
To switch a web page or part, hover over the three arrows subsequent to any menu merchandise. Right here, you may rename, delete, or briefly disguise a web page whereas it’s underneath development or when you’re not able to publish it but.

Lastly, I’ll add an extra web page to my web site. By clicking ‘Add Menu Merchandise‘, I can select and identify a brand new web page to incorporate.
Including New Pages and Templates
Wix affords numerous templates for brand new pages, although extra design choices will turn out to be accessible as we construct the web page. For now, I’ll begin with a ‘Clean Web page‘.
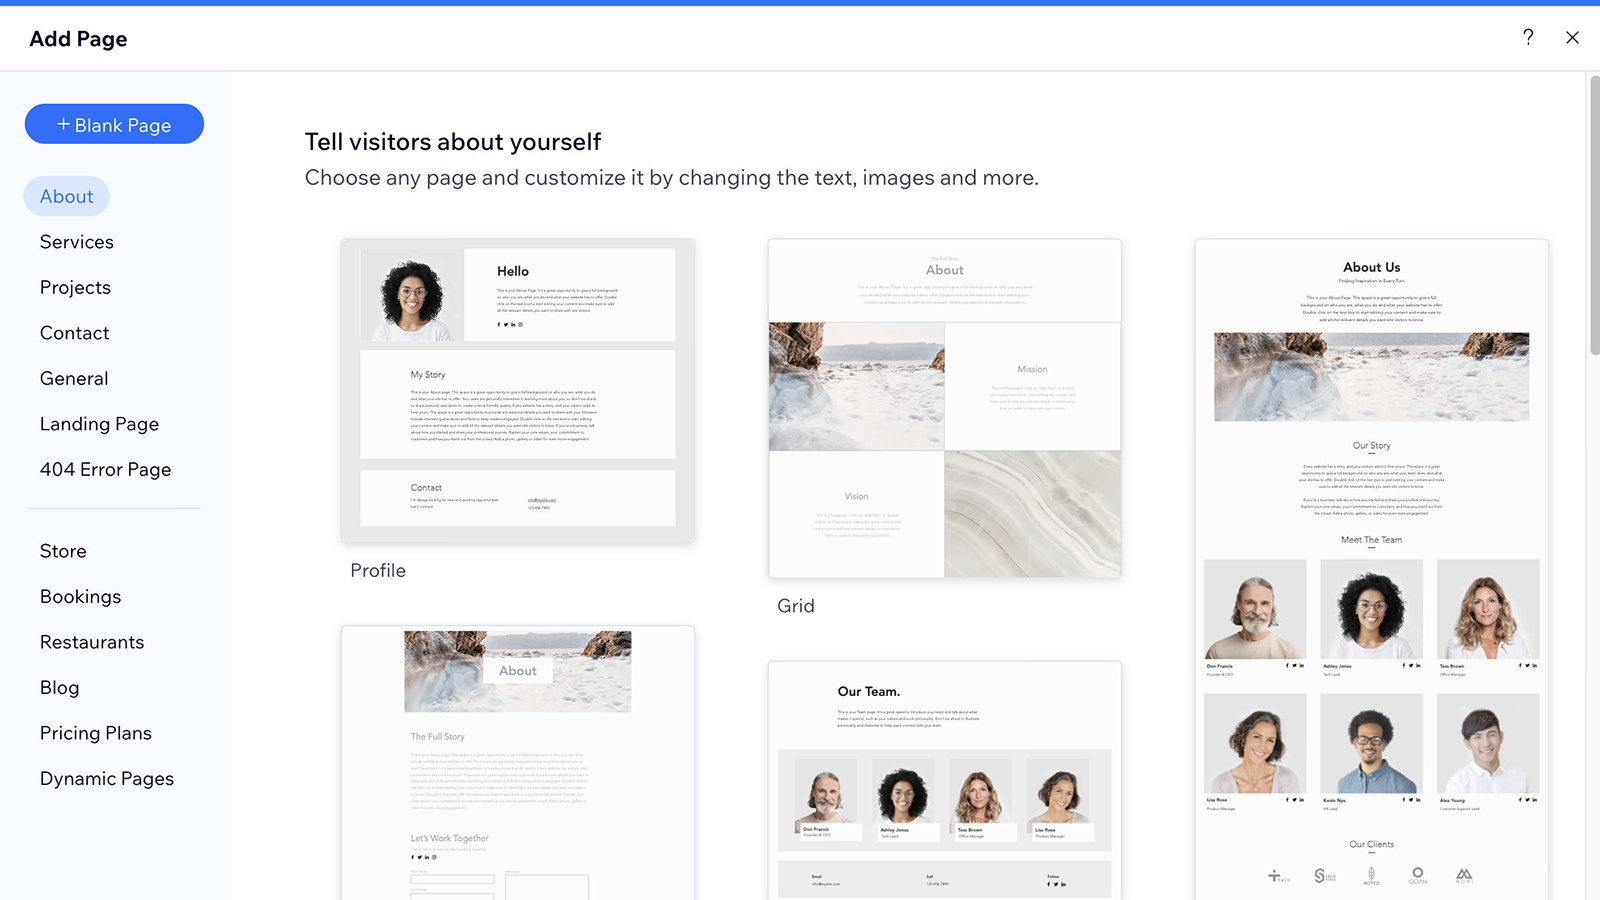
After choosing a clean web page, I can identify it. For this instance, I’ll put together to create a gallery, naming the web page ‘Gallery‘.

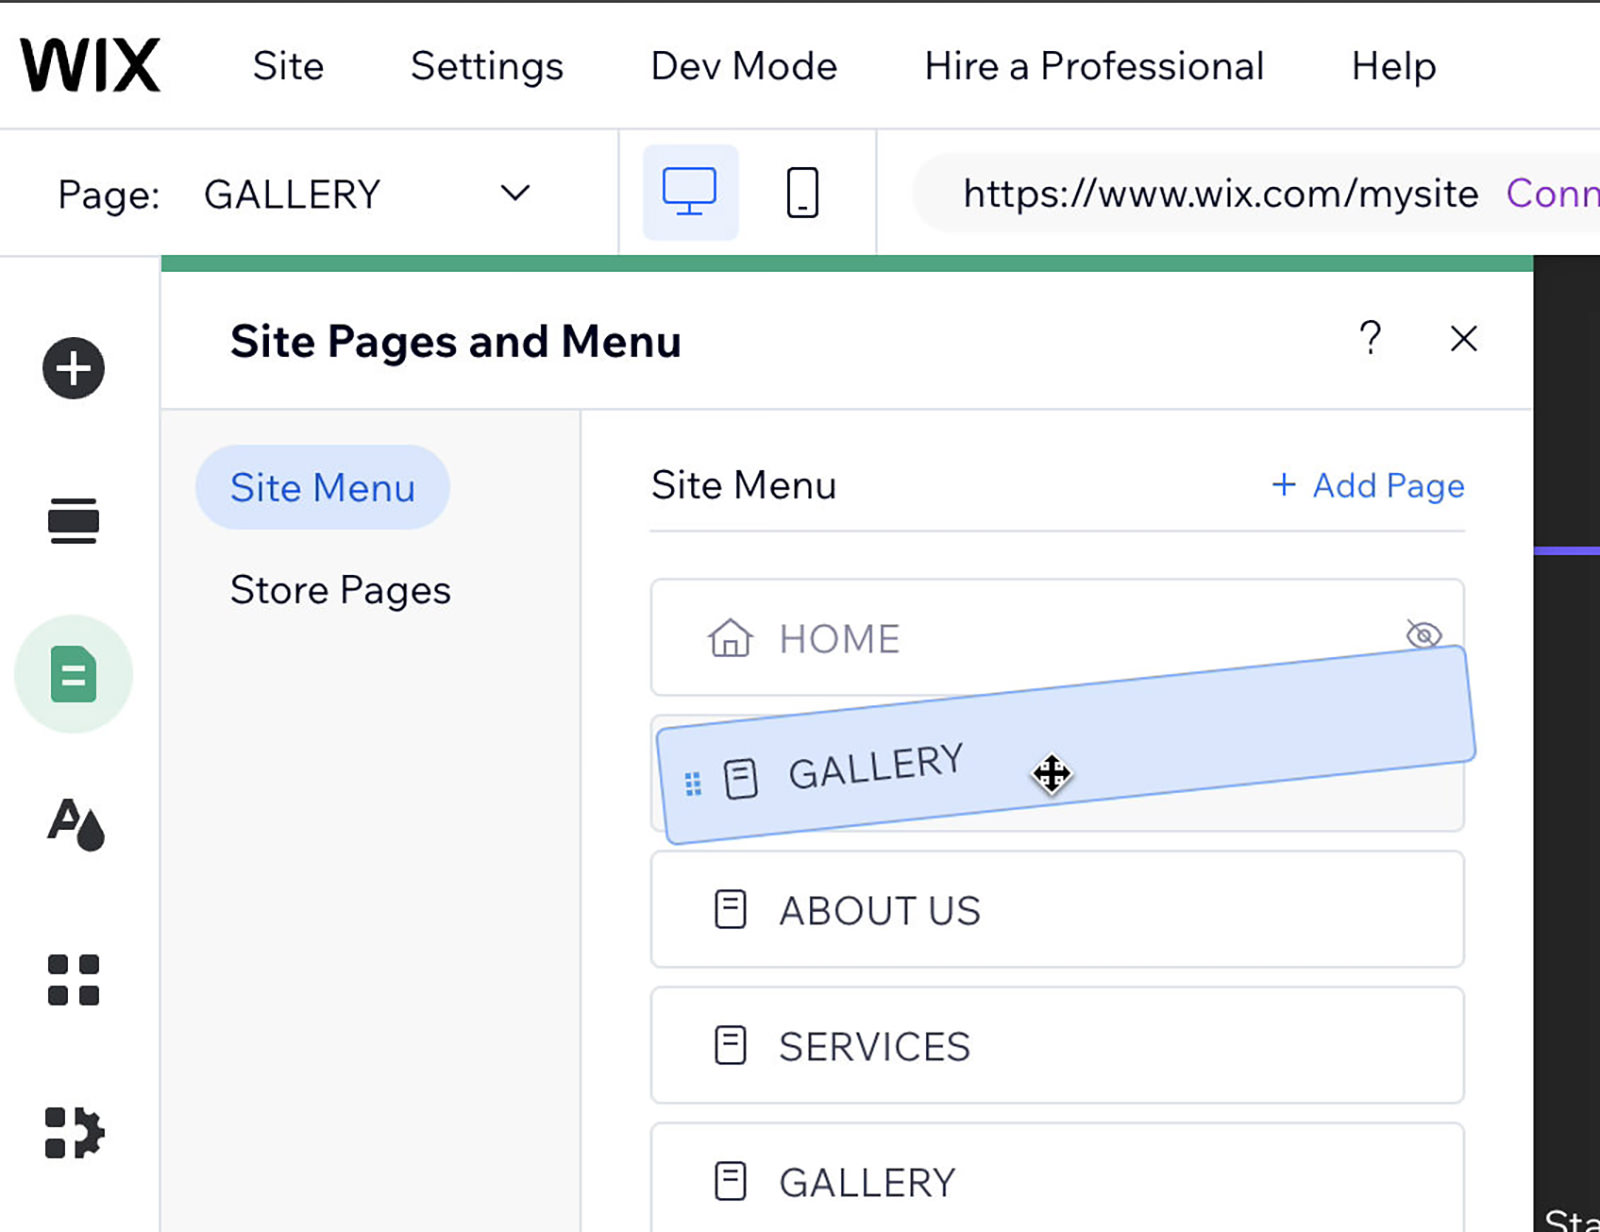
To rearrange your web site’s menu, simply drag and drop the pages into your required order. As soon as completed, click on the house button to return to the primary web site and proceed modifying. Shut the editor by urgent ‘X‘.
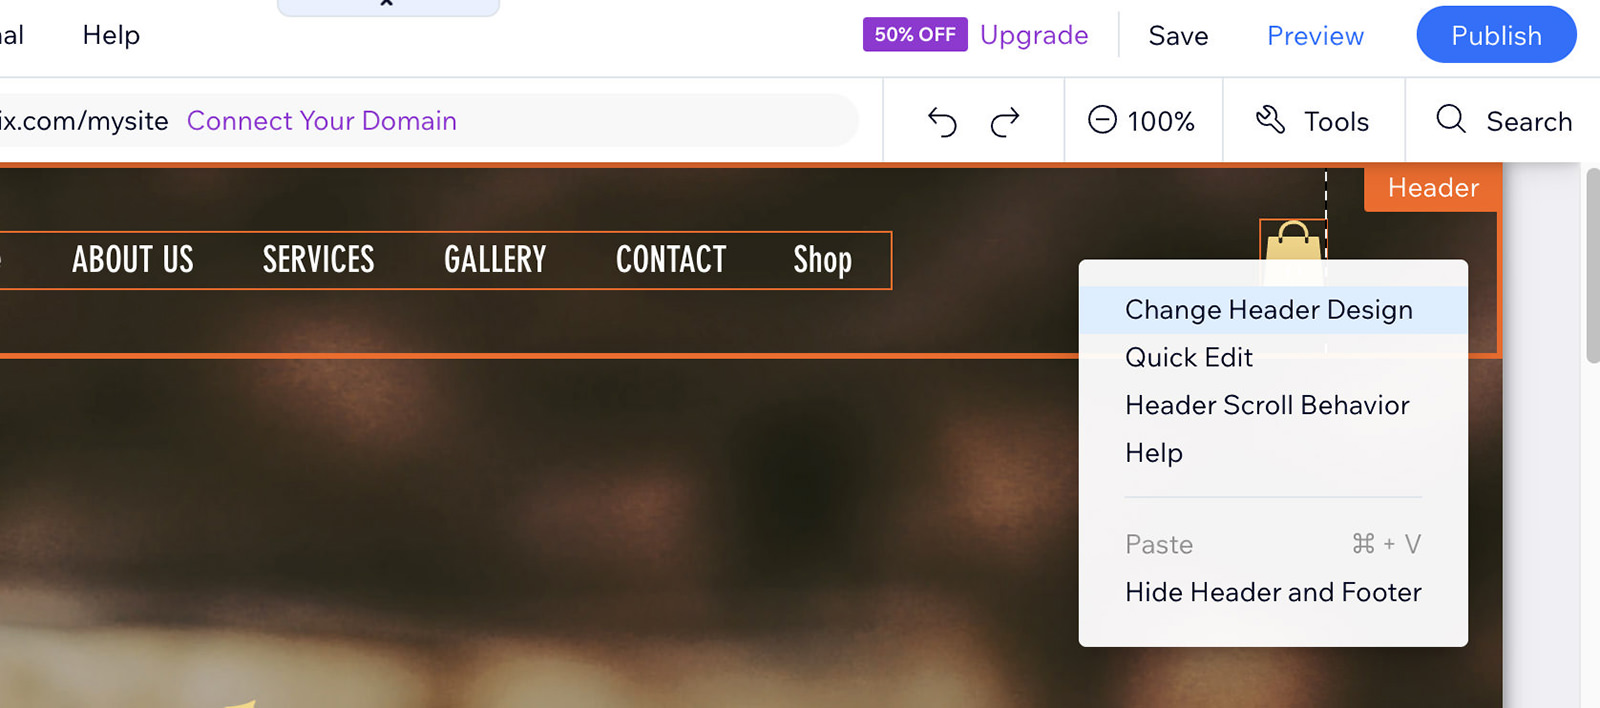
Let’s return to refining our header. Hover over any icon, and Wix will point out its perform. As an illustration, if there’s a ‘Name Us‘ icon that’s not wanted, right-click and choose ‘Delete‘.

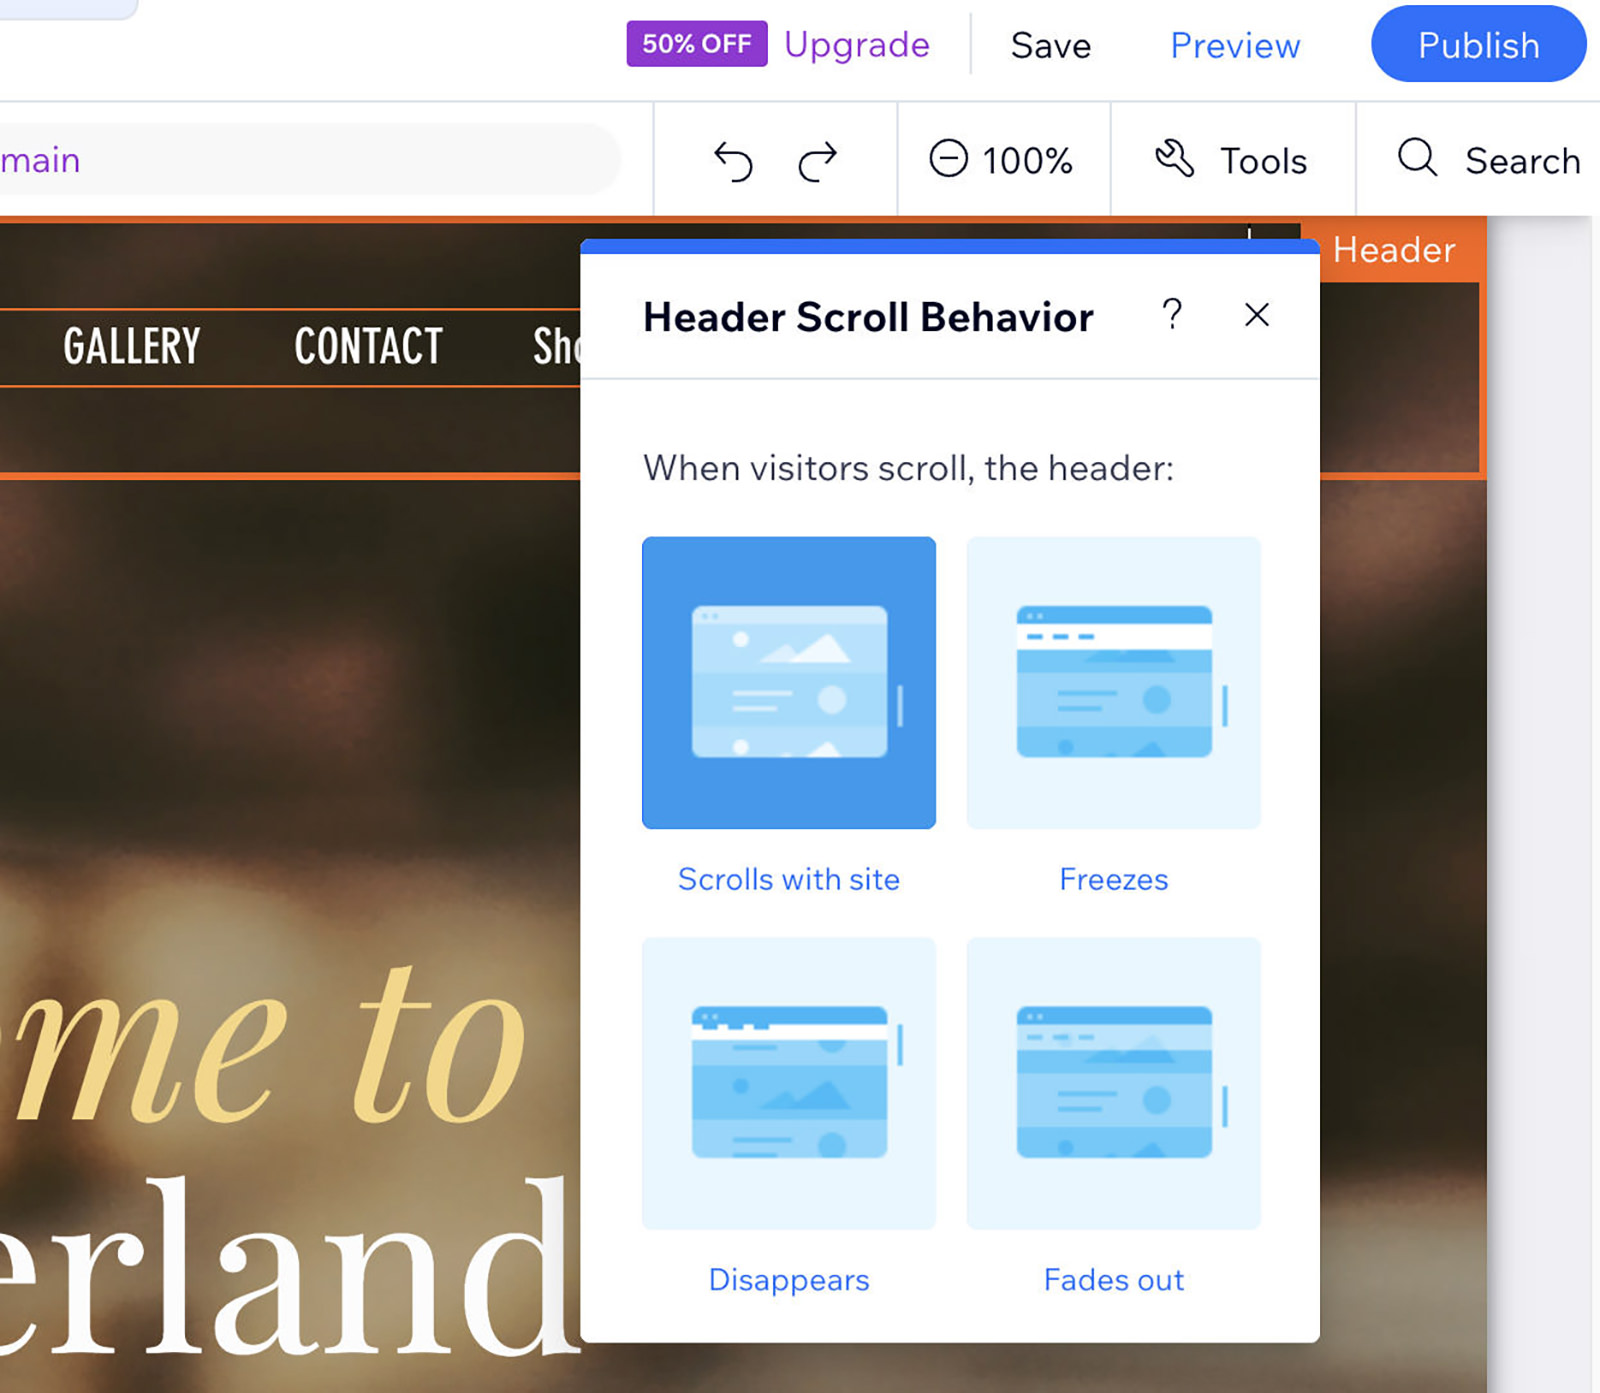
The header seems on each web page, however its conduct may be adjusted. By clicking the settings on the right-hand facet and choosing ‘Header Scroll Habits‘, you may determine if the header ought to scroll with the web page, stay fastened, disappear, or fade out.
Customizing the Header and Including Logos
I’m going so as to add a brand to my header to make sure it seems constantly throughout all pages of my web site. Since there isn’t a pre-existing choice to edit for this, I’ll go to the left-hand facet navigation bar and select ‘Add Parts‘.
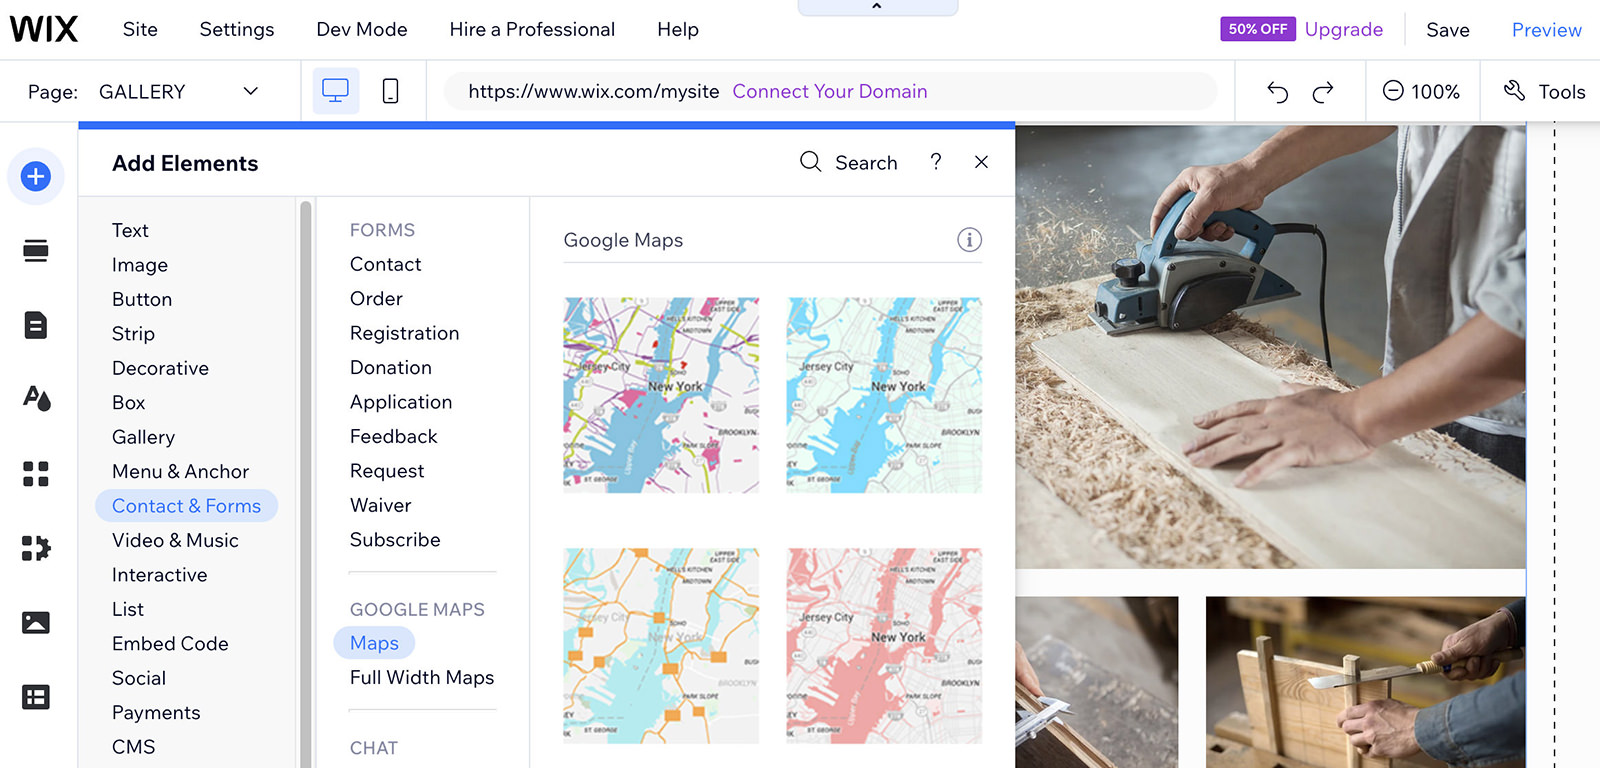
Subsequent, I’ll choose ‘Picture‘. Wix affords a number of strategies to add photos: straight out of your pc, importing from social media or Google, utilizing AI to create a picture, or selecting from an enormous assortment of free photos and illustrations.
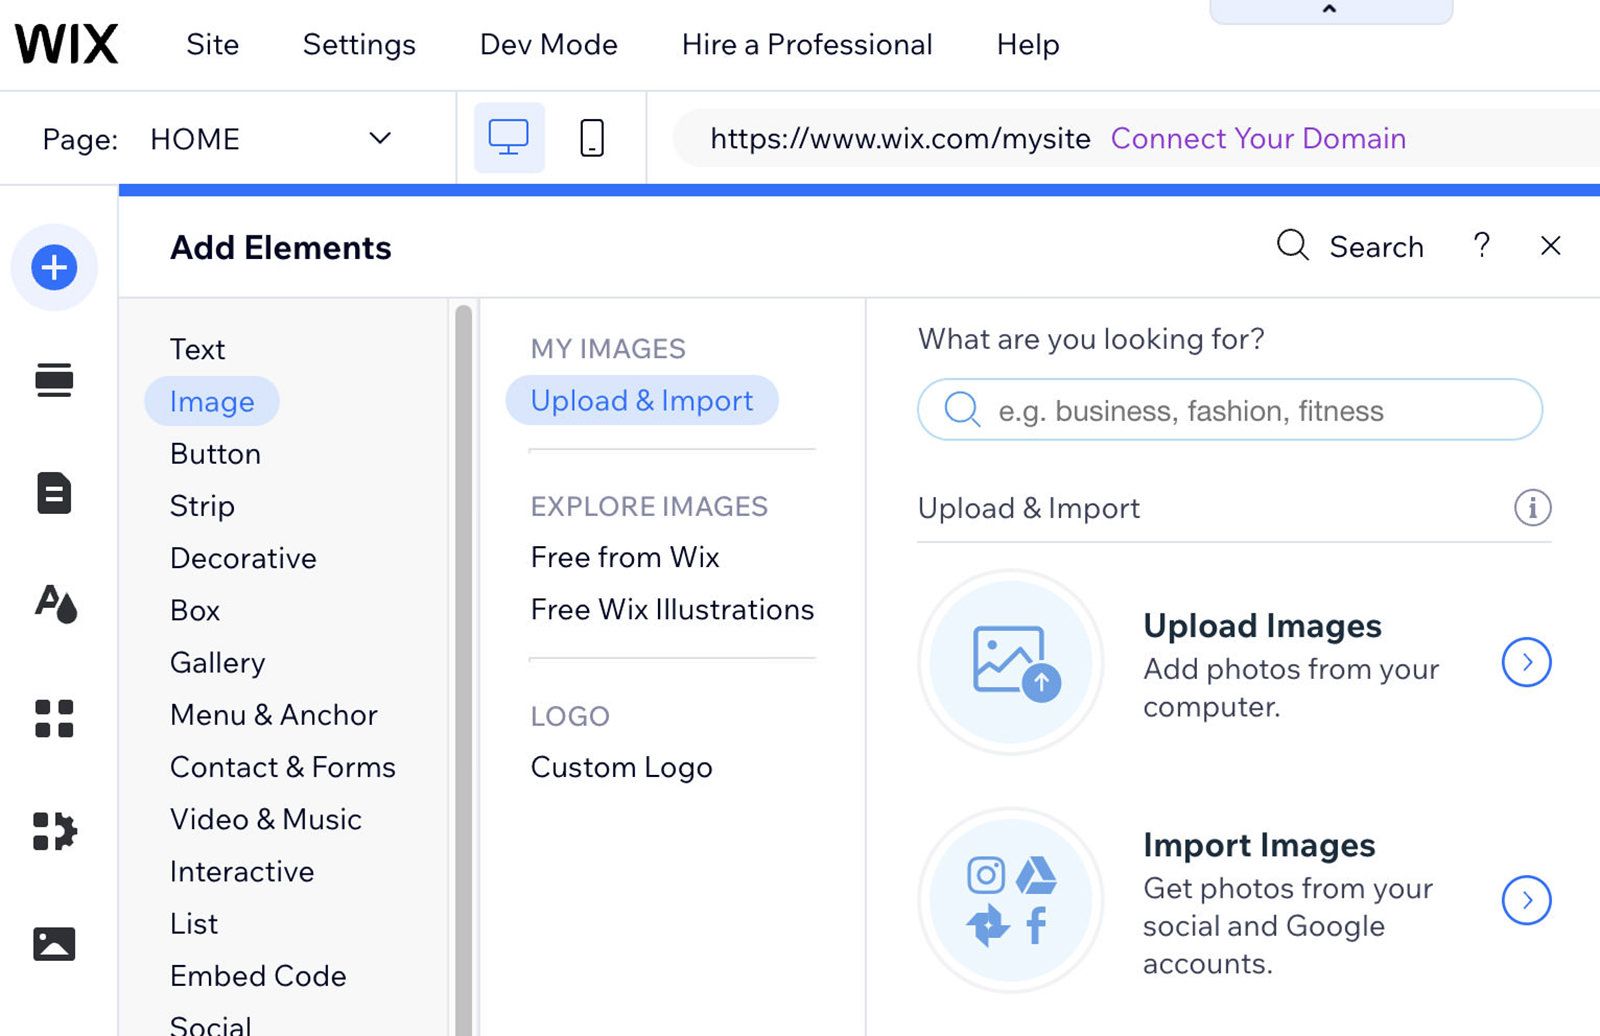
For this tutorial, I’m including a pre-designed brand from my pc. If you happen to don’t have a brand but, Wix supplies instruments that will help you create one straight inside the platform.
Modifying and Positioning Photos
So as to add my brand, I’ll navigate again to the highest of the web page and select ‘Add Photos‘ to pick my brand file from my pc.
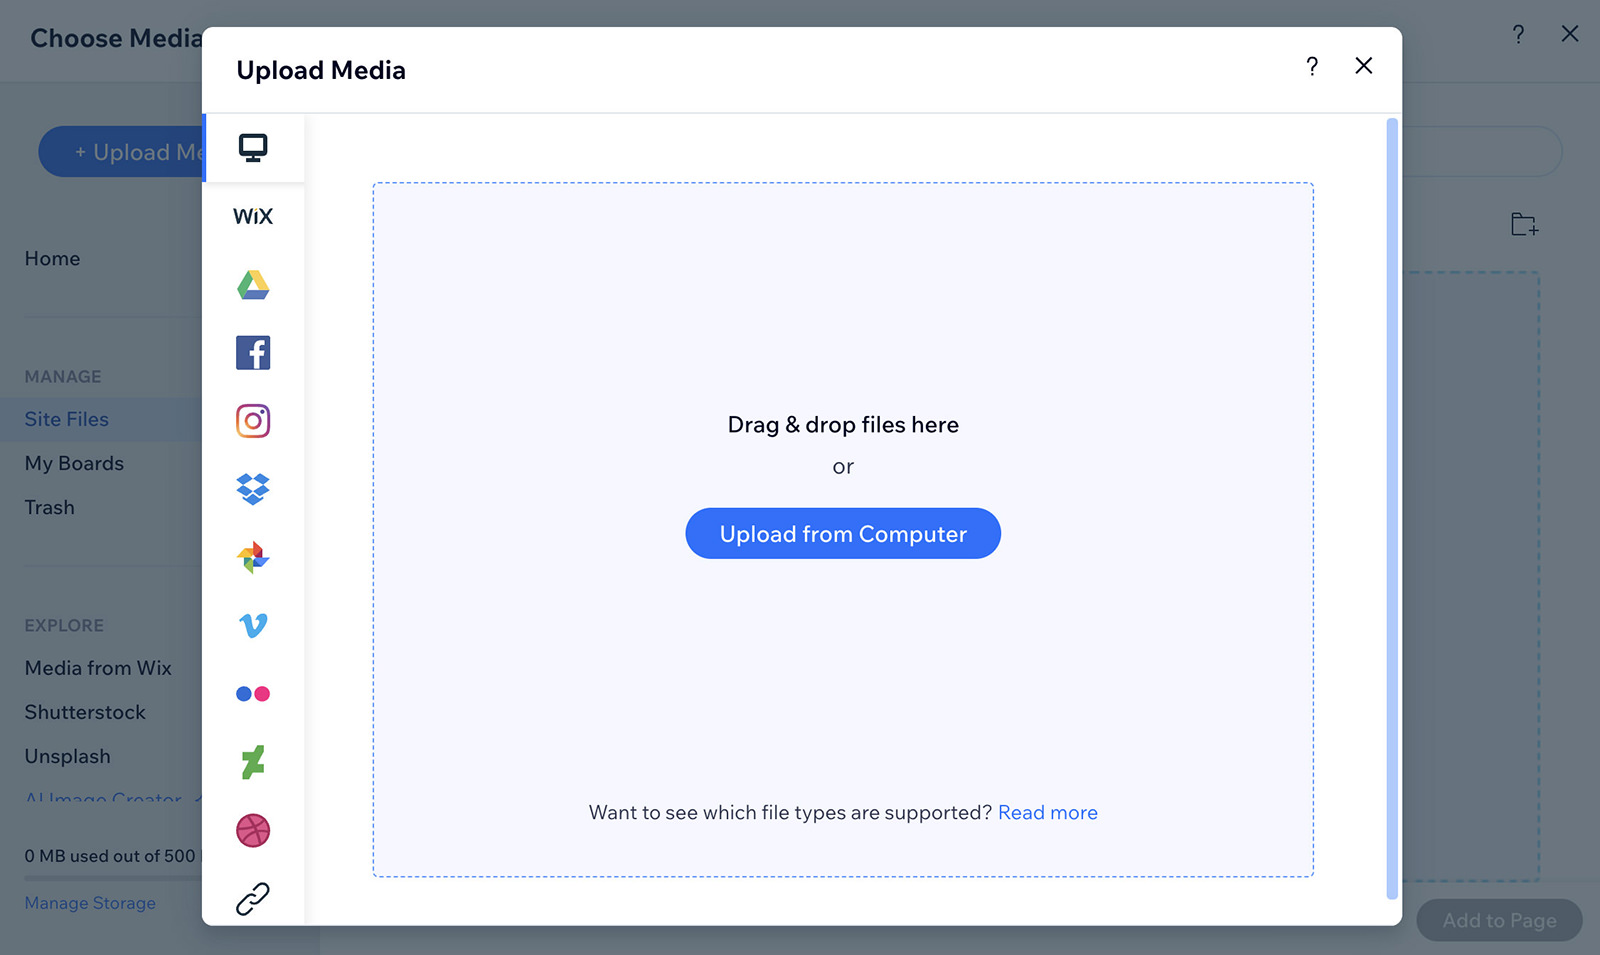
As soon as uploaded, click on ‘Add to Web page‘.
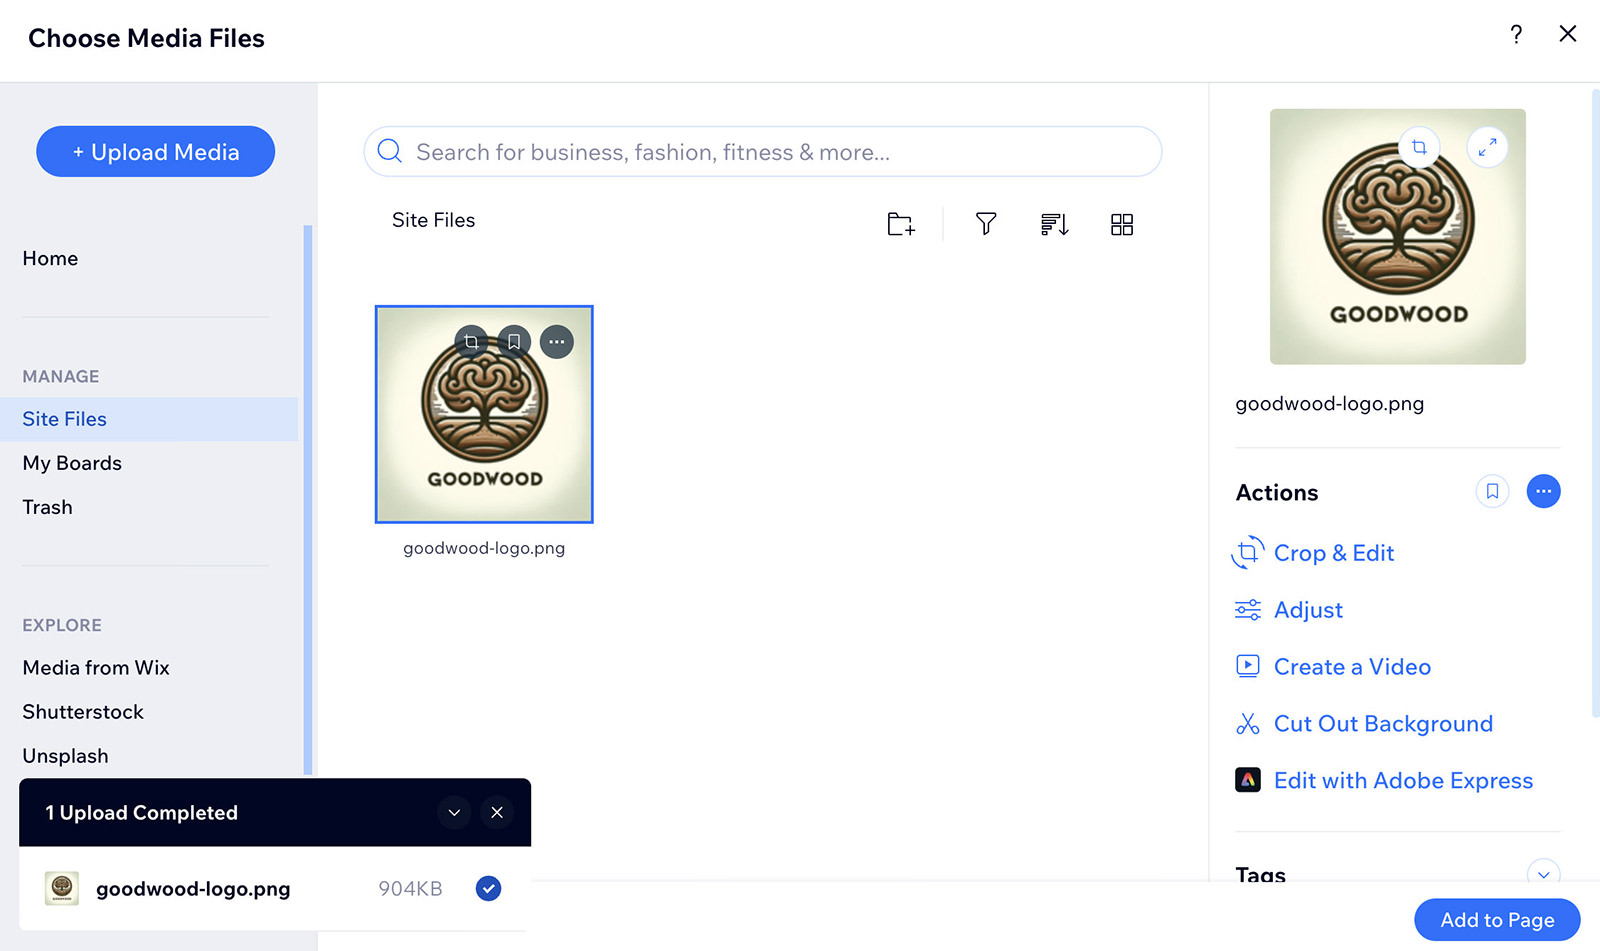
You may then drag and drop the brand to your required location. Keep in mind, something added to your header will present on each web page of your web site. It’s also possible to simply modify the scale of the picture straight.
If it’s worthwhile to make additional changes, choose ‘Edit Picture‘ for extra modifying choices, or change the picture totally if vital.
Working with Textual content and Types
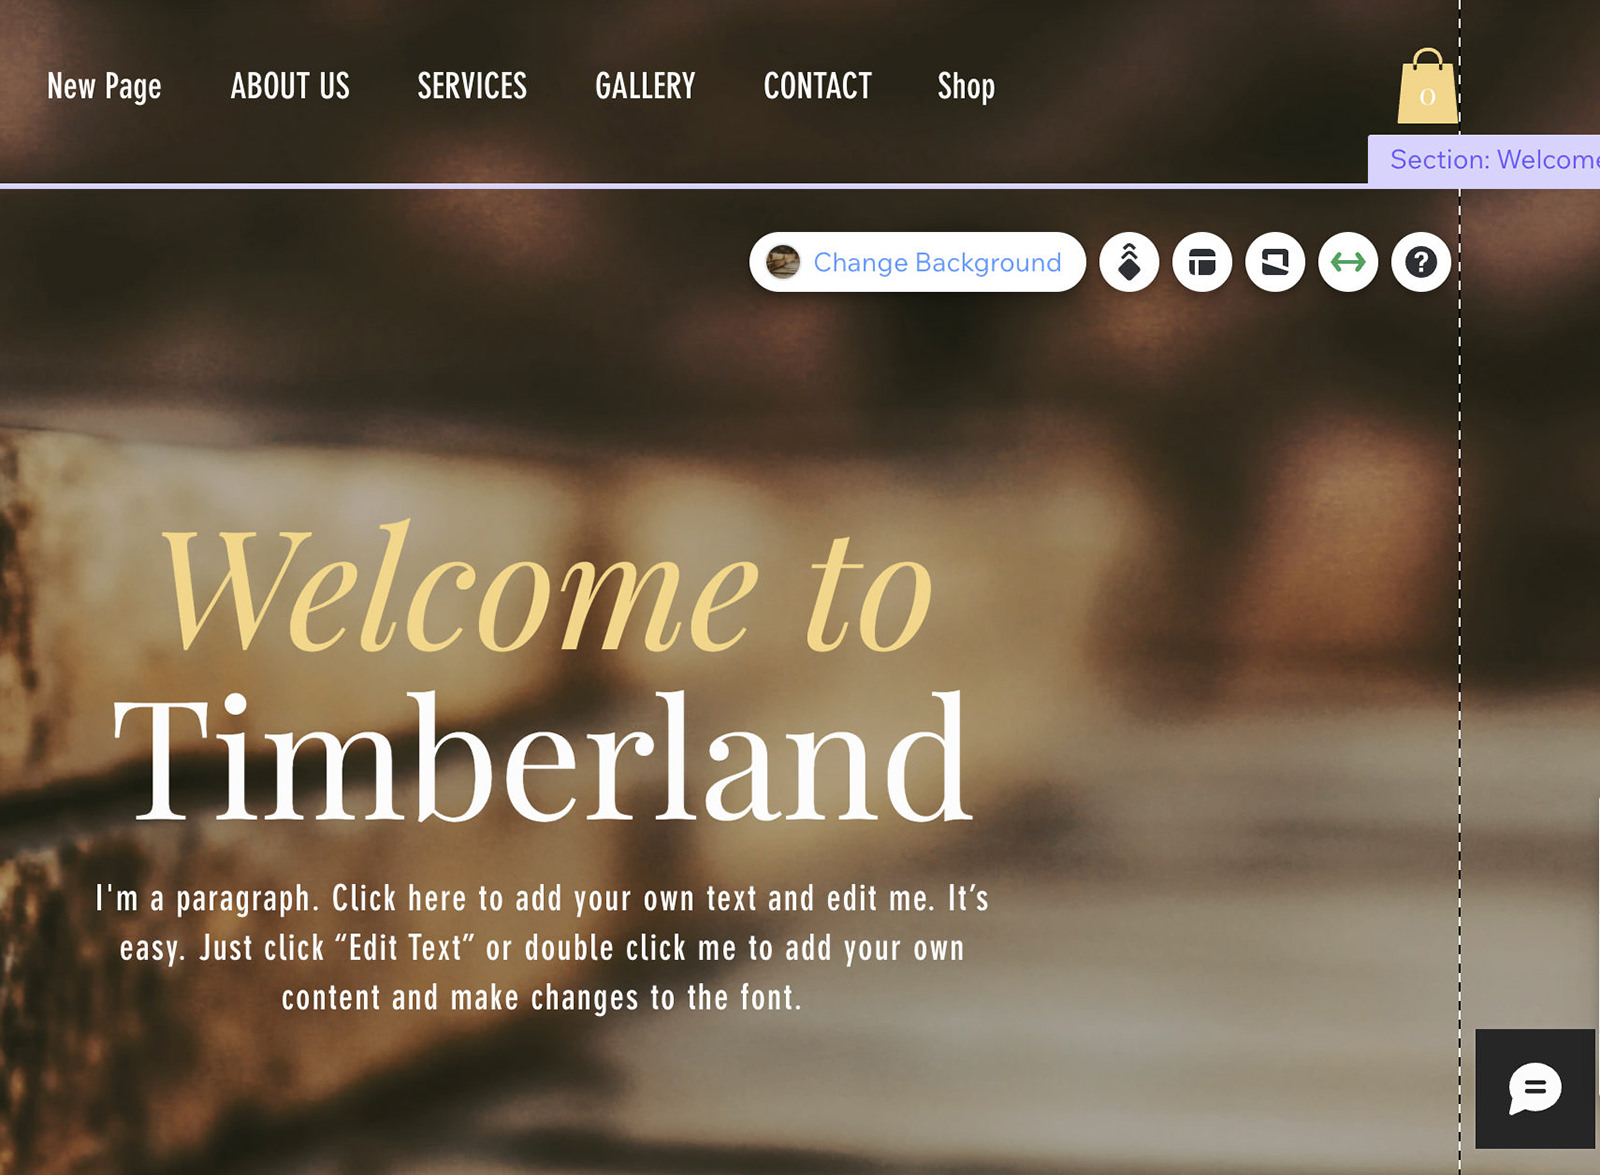
Let’s transfer on to the welcome part. If you happen to’d like to vary the background right here, click on ‘Change Background‘.
You may select from the backgrounds Wix affords or add your personal, utilizing the identical course of we used to add the brand.

Subsequent, let’s edit the textual content. Click on on the textual content Wix has offered and choose ‘Edit Textual content‘.

I’ll begin by altering what the textual content says. After that, I can spotlight the textual content to regulate the font, coloration, and measurement.
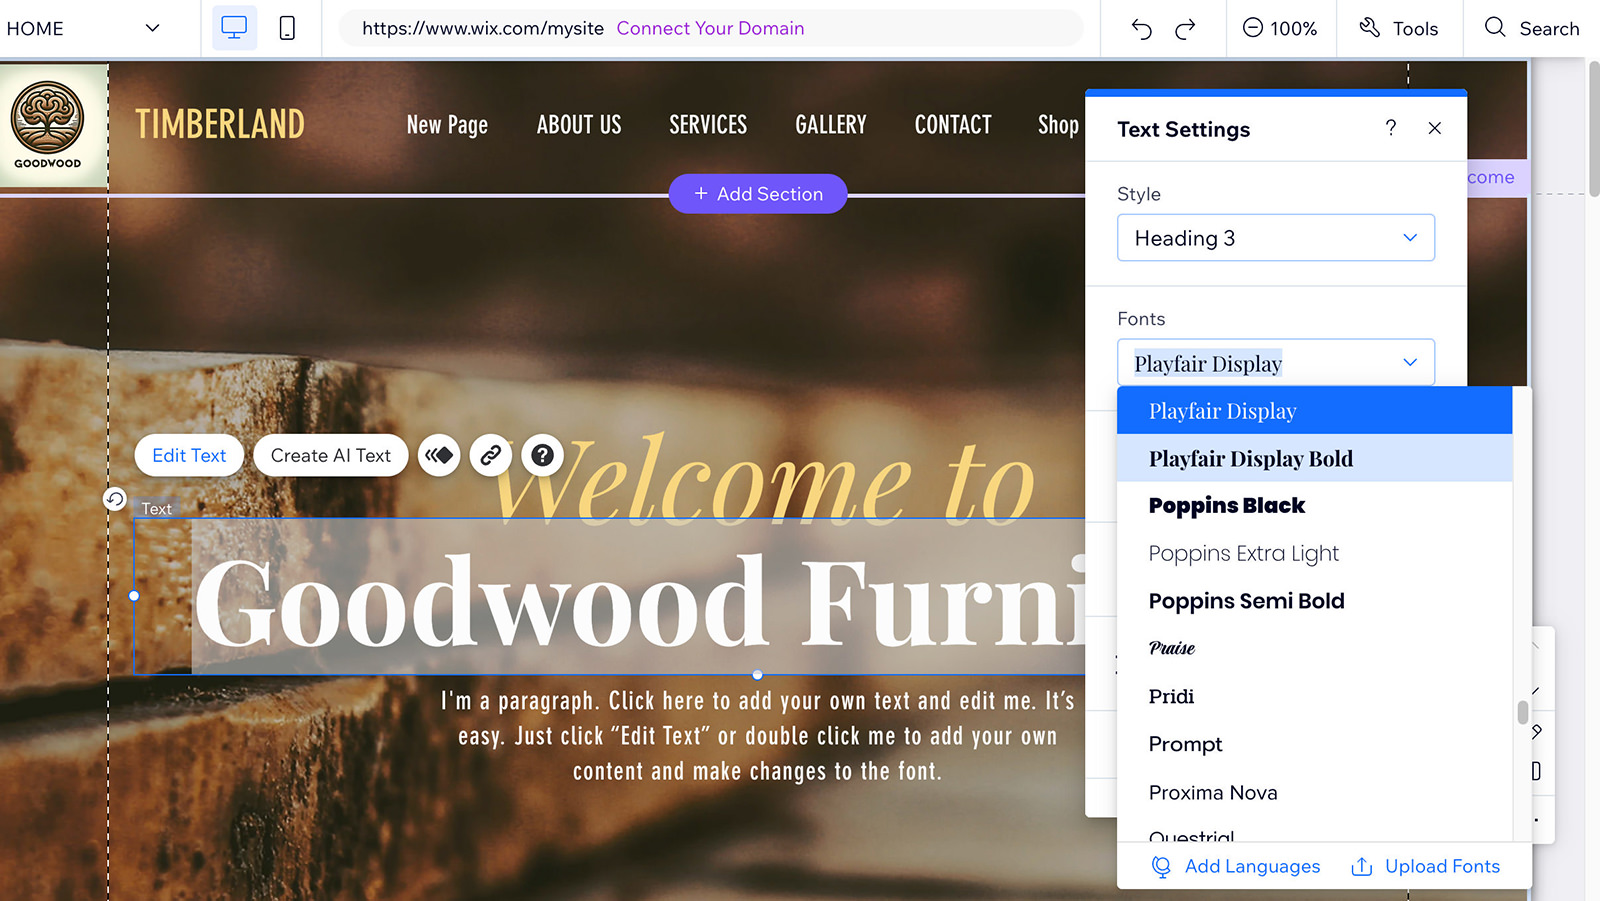
When you’re glad with the textual content type, you may discover additional customization choices equivalent to particular results, character spacing, and line spacing.
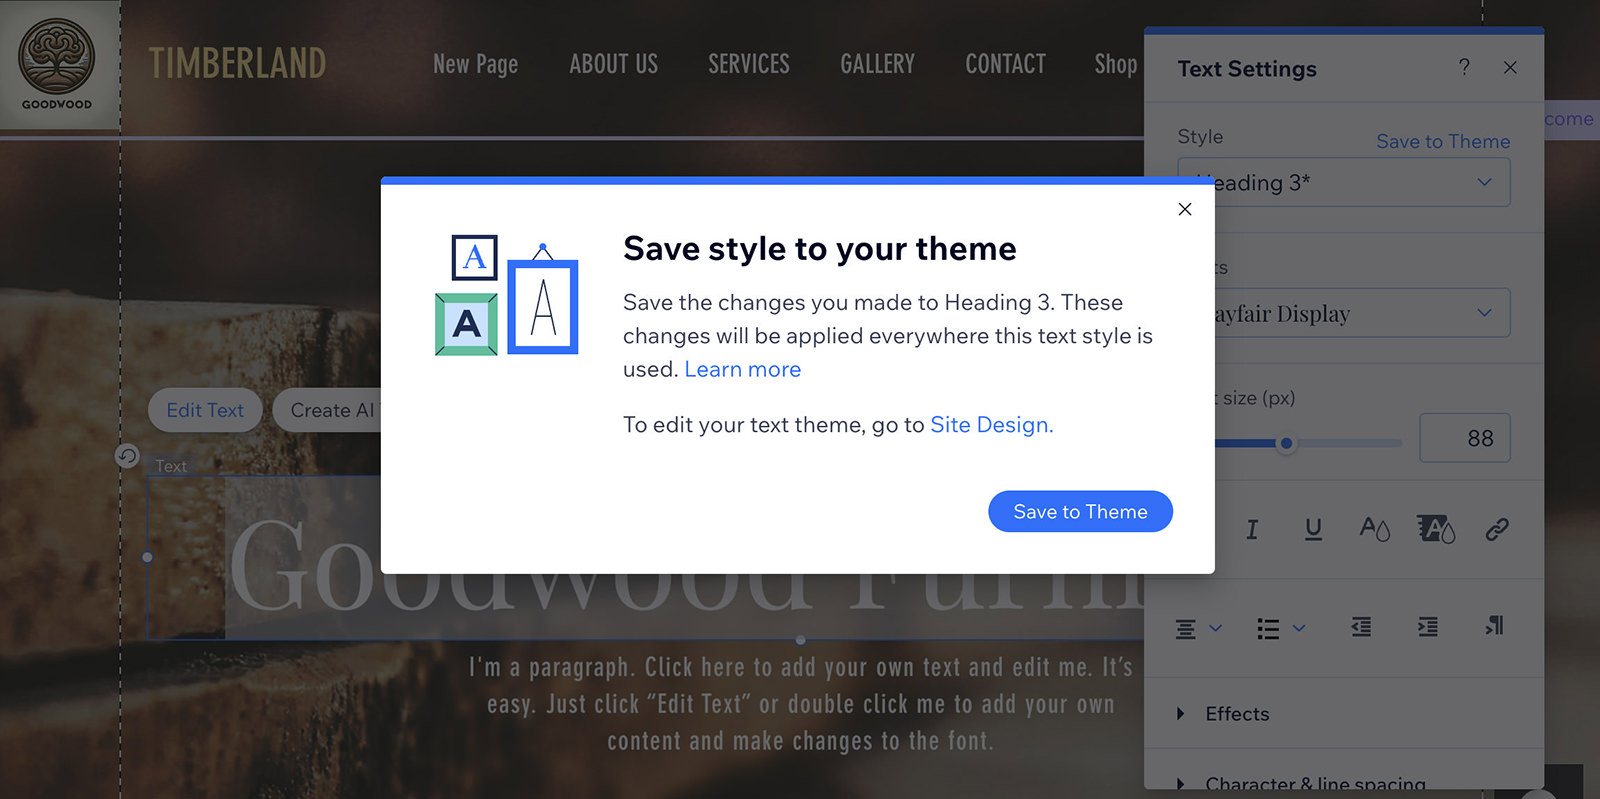
To save lots of time and keep consistency throughout completely different pages, think about saving your styled textual content to a theme. This lets you reuse the type with out having to redo it every time.
Adjusting Web page Layouts and Backgrounds
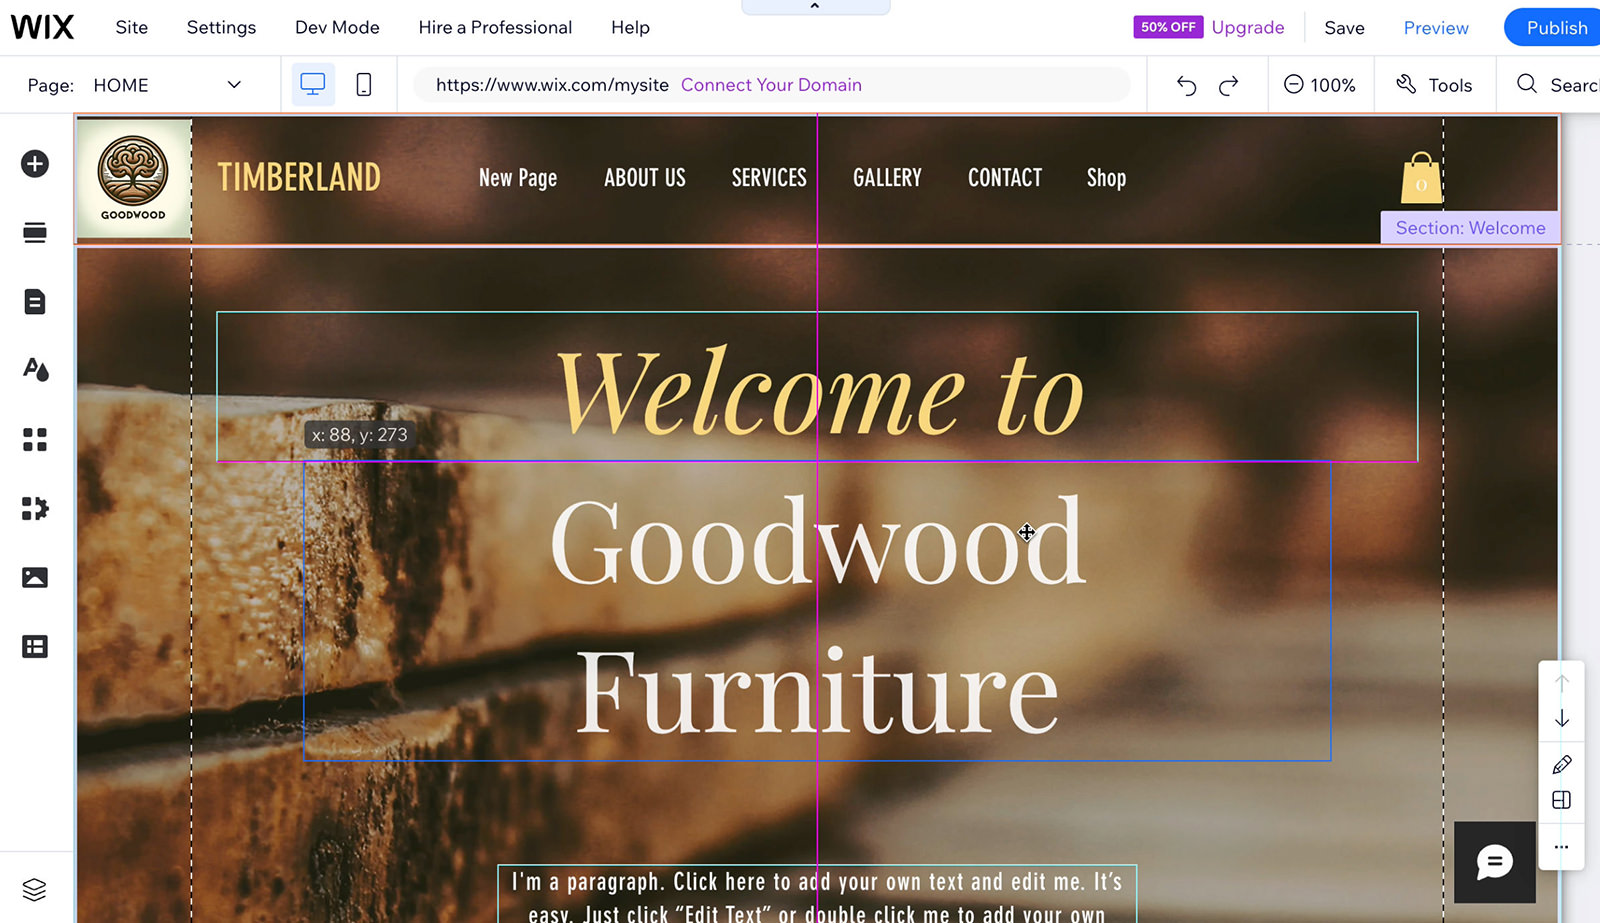
After finalizing your textual content settings, you may modify the textual content field’s place to suit your most popular location on the web page. If any components obscure the textual content, you may transfer or delete them as wanted.
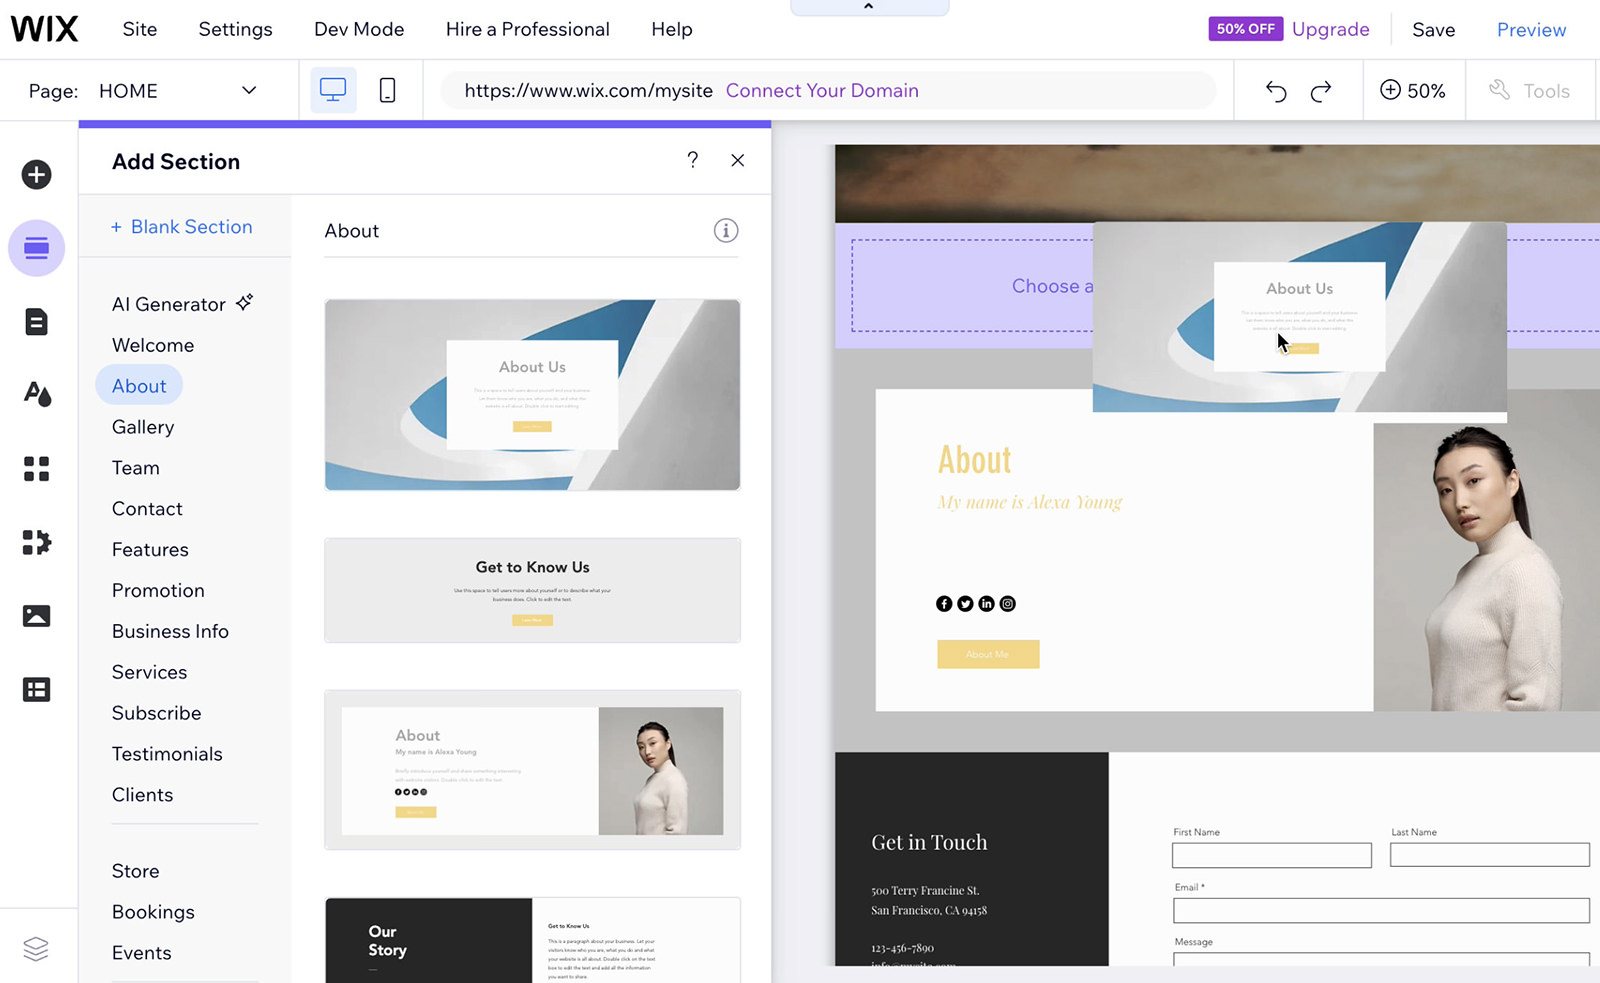
Let’s discover additional down the web page. Wix has an About part prepared, however you may wish to customise it. You may edit the textual content straight as we did earlier than or exchange the part totally by selecting ‘Add Part‘ from the left-hand facet menu.
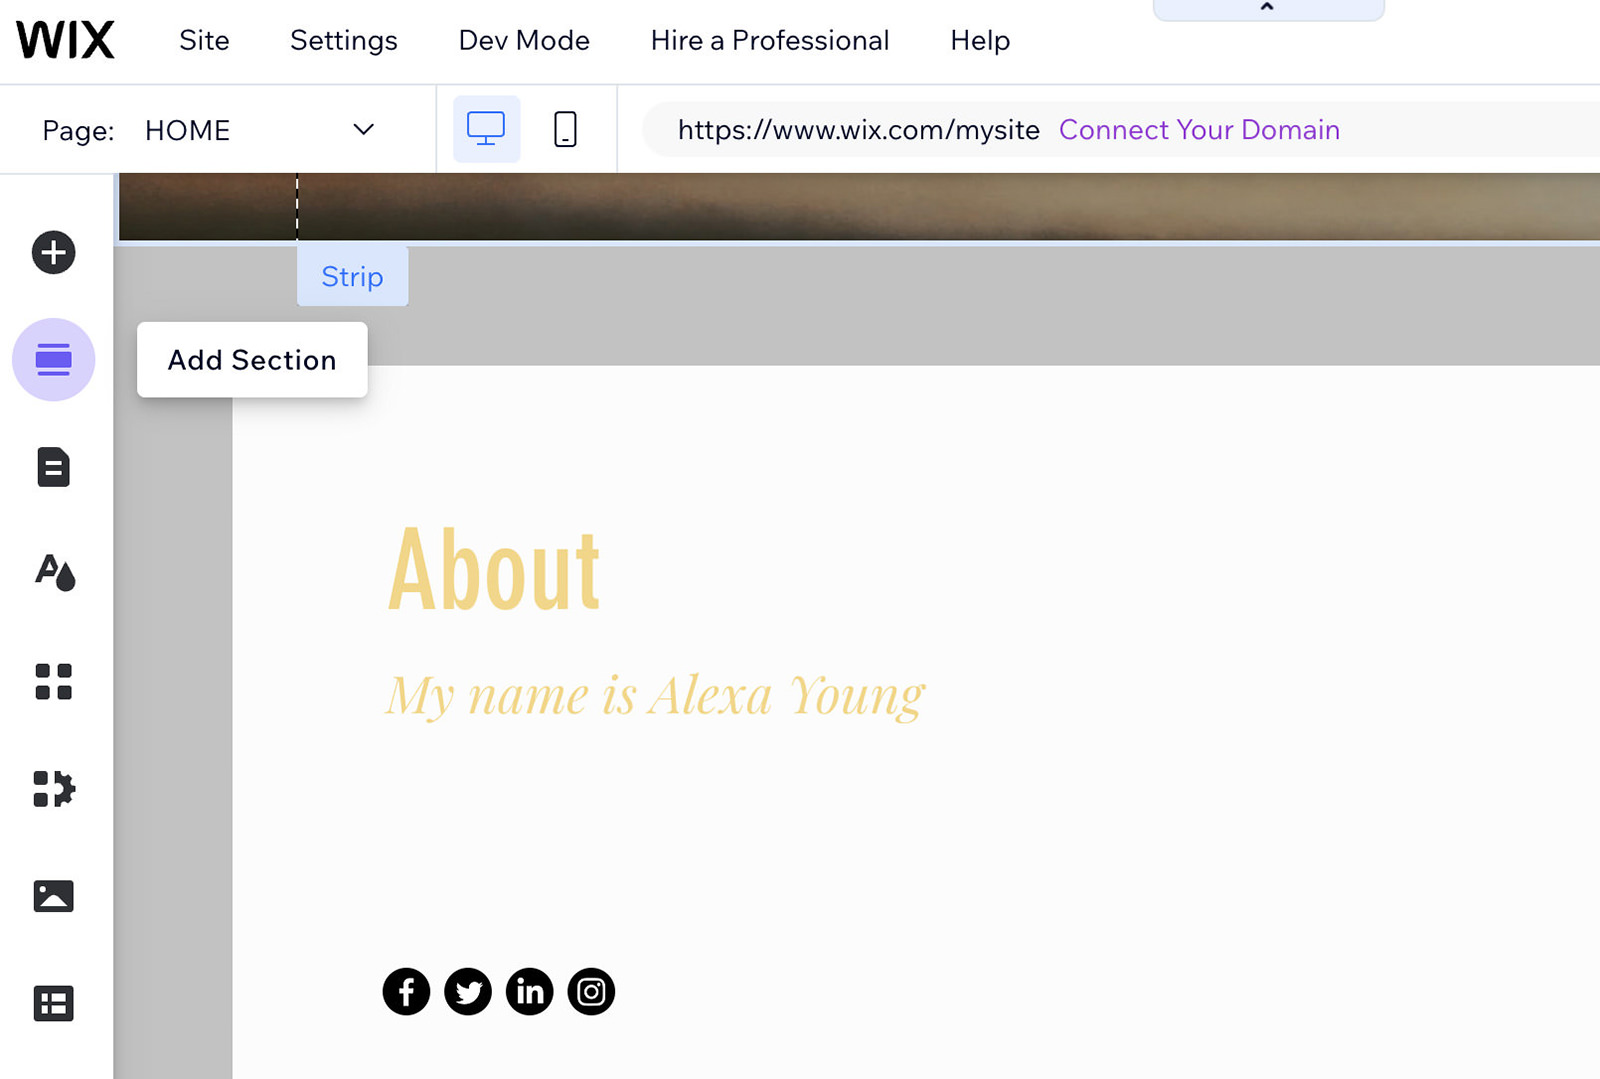
There are a lot of part templates accessible on Wix. For instance, if the default About part doesn’t fit your wants, you may drag a brand new template onto your web page.
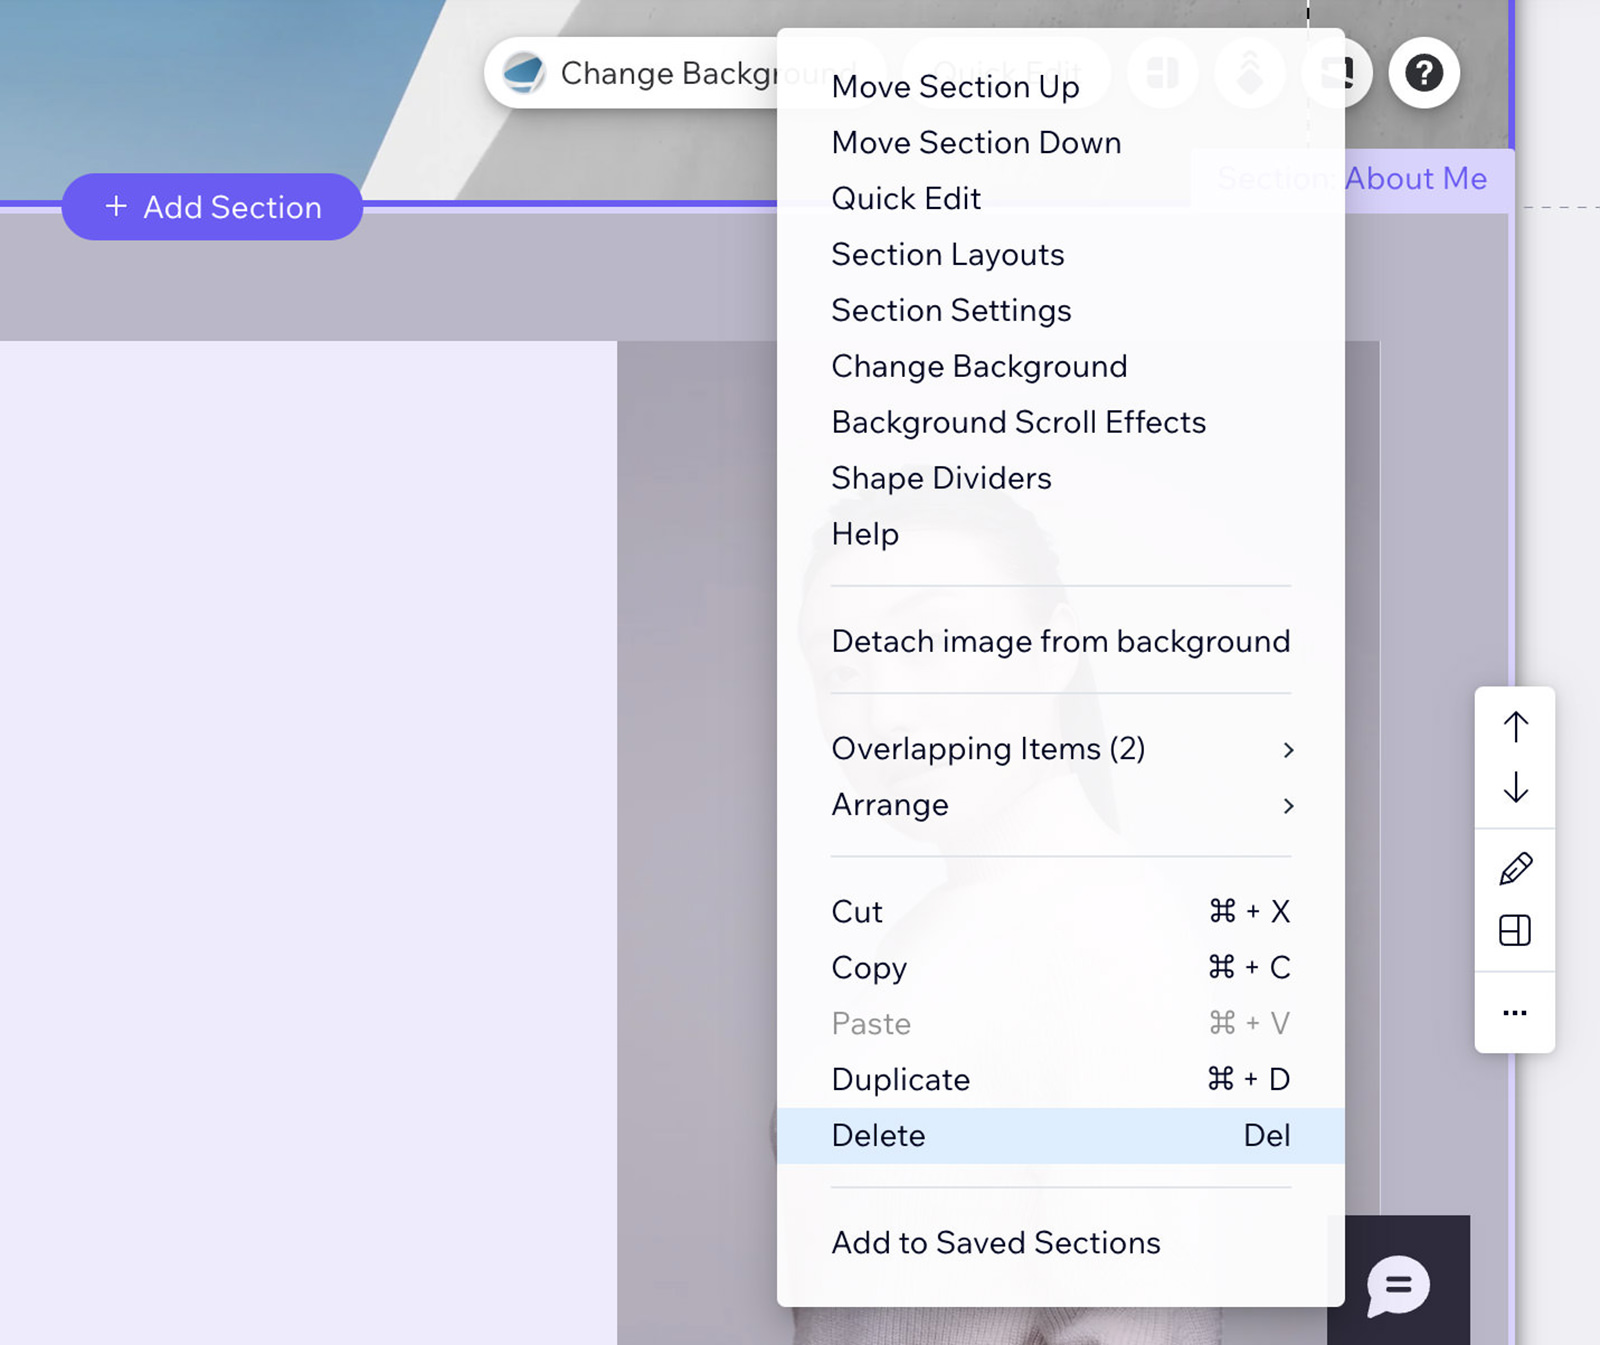
As soon as the brand new part is in place, right-click the previous part and choose ‘Delete‘ to take away it.
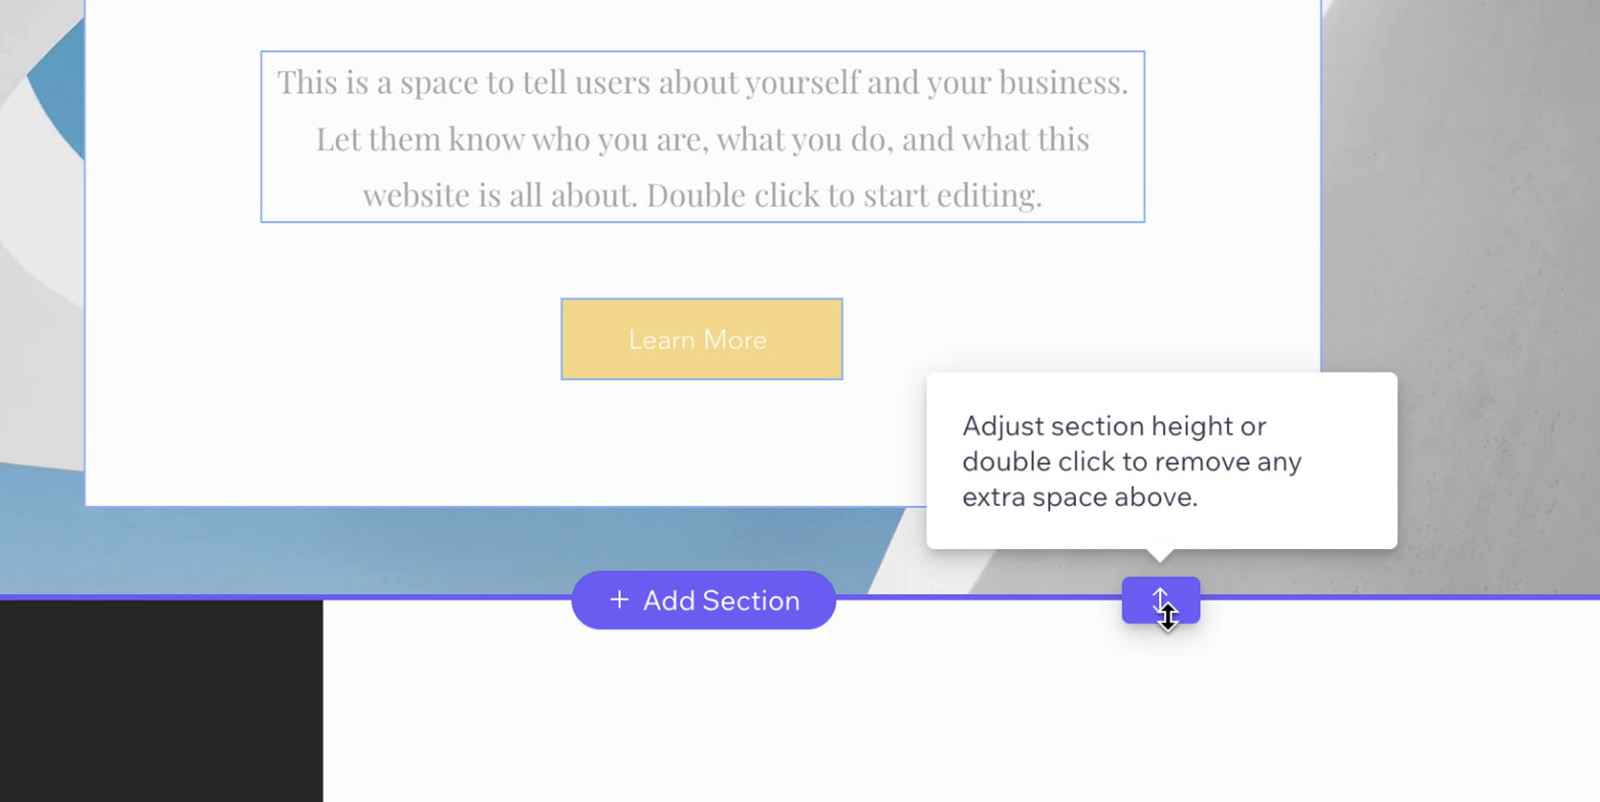
If it’s worthwhile to modify the spacing across the new part, merely drag the arrows so as to add or scale back white area, serving to you refine your web site’s design.
Modifying the Web site Footer
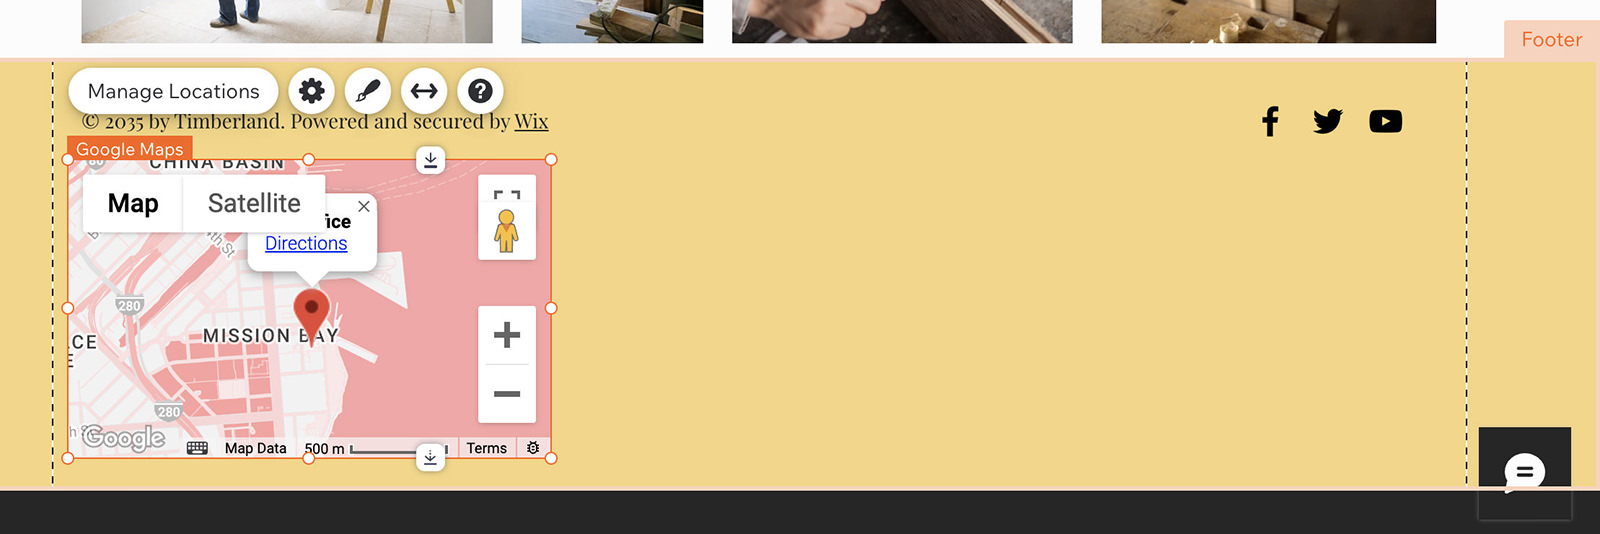
We haven’t but lined the footer, which, just like the header, seems on each web page of your web site.

My footer is at the moment fairly sparse, so I wish to add components that will likely be helpful to my guests. I’ll begin by choosing ‘Add Parts‘ from the navigation bar.
I’ve determined to incorporate a map within the footer to look on each web page, offering location particulars to my prospects. Underneath ‘Contact & Types‘, I discover the map I would like and drag it into the footer.
After inserting the map, I can modify its measurement and place to suit neatly inside the footer, guaranteeing all location particulars are right and simply accessible.
Publishing Your Web site
When you’ve completed modifying your web site, you’re able to go reside. Merely click on the ‘Publish‘ button.
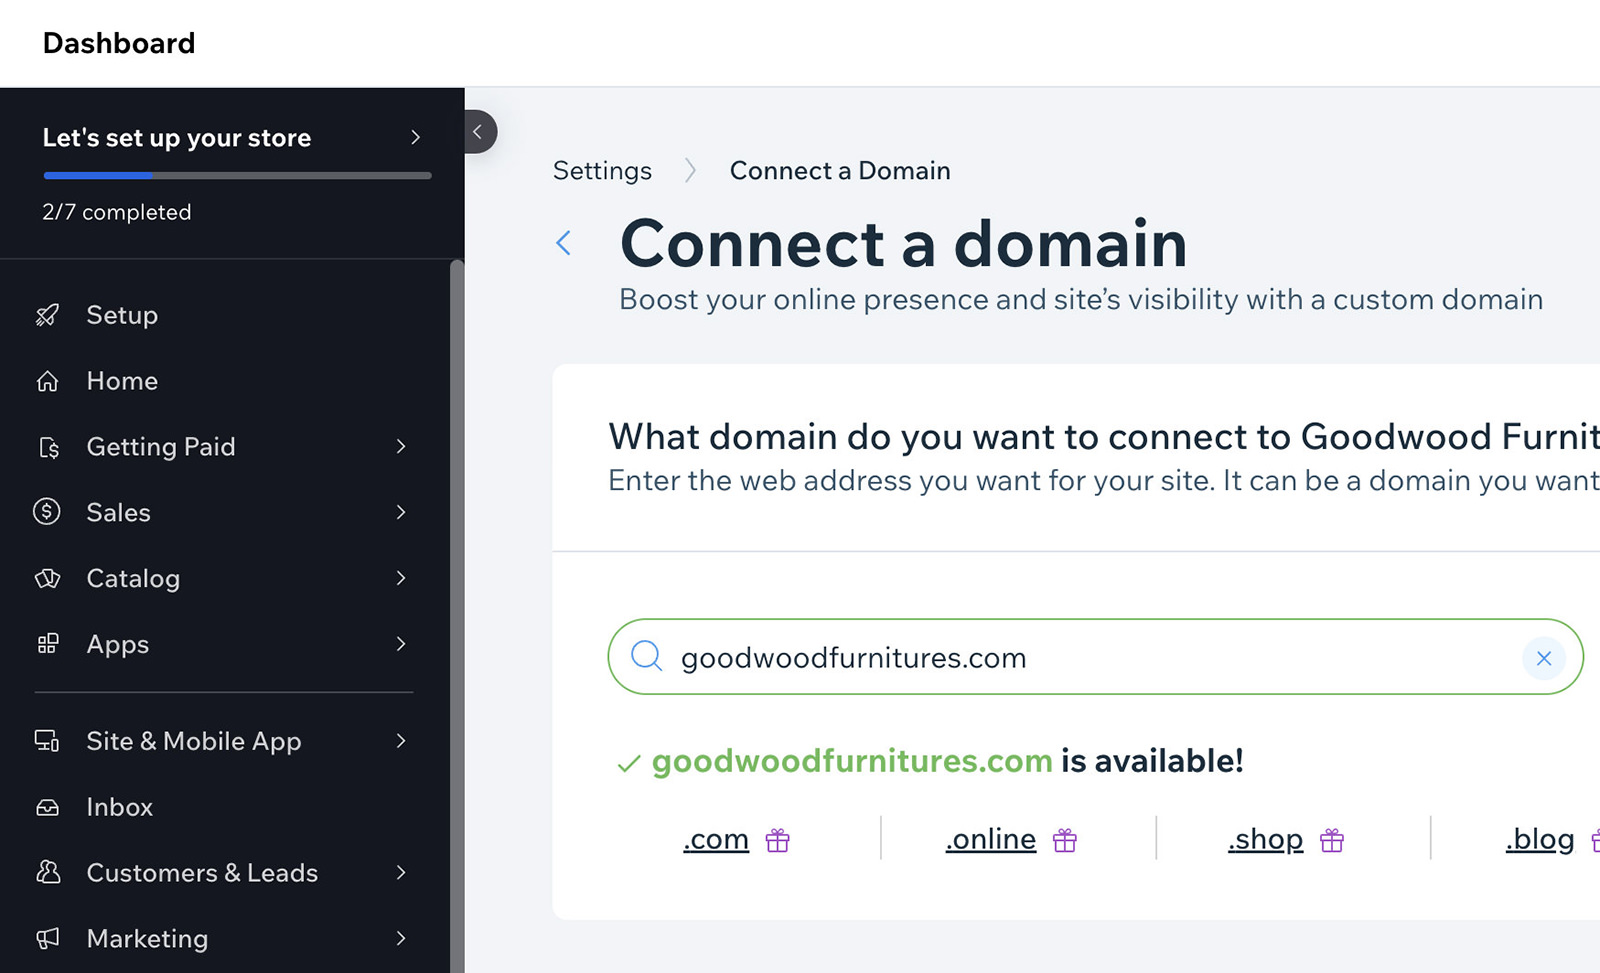
With a free Wix plan, you’ll obtain a website that features Wix branding. If you happen to favor to not use the Wix-branded area, you may join your personal customized area by choosing ‘Join Your Area‘.
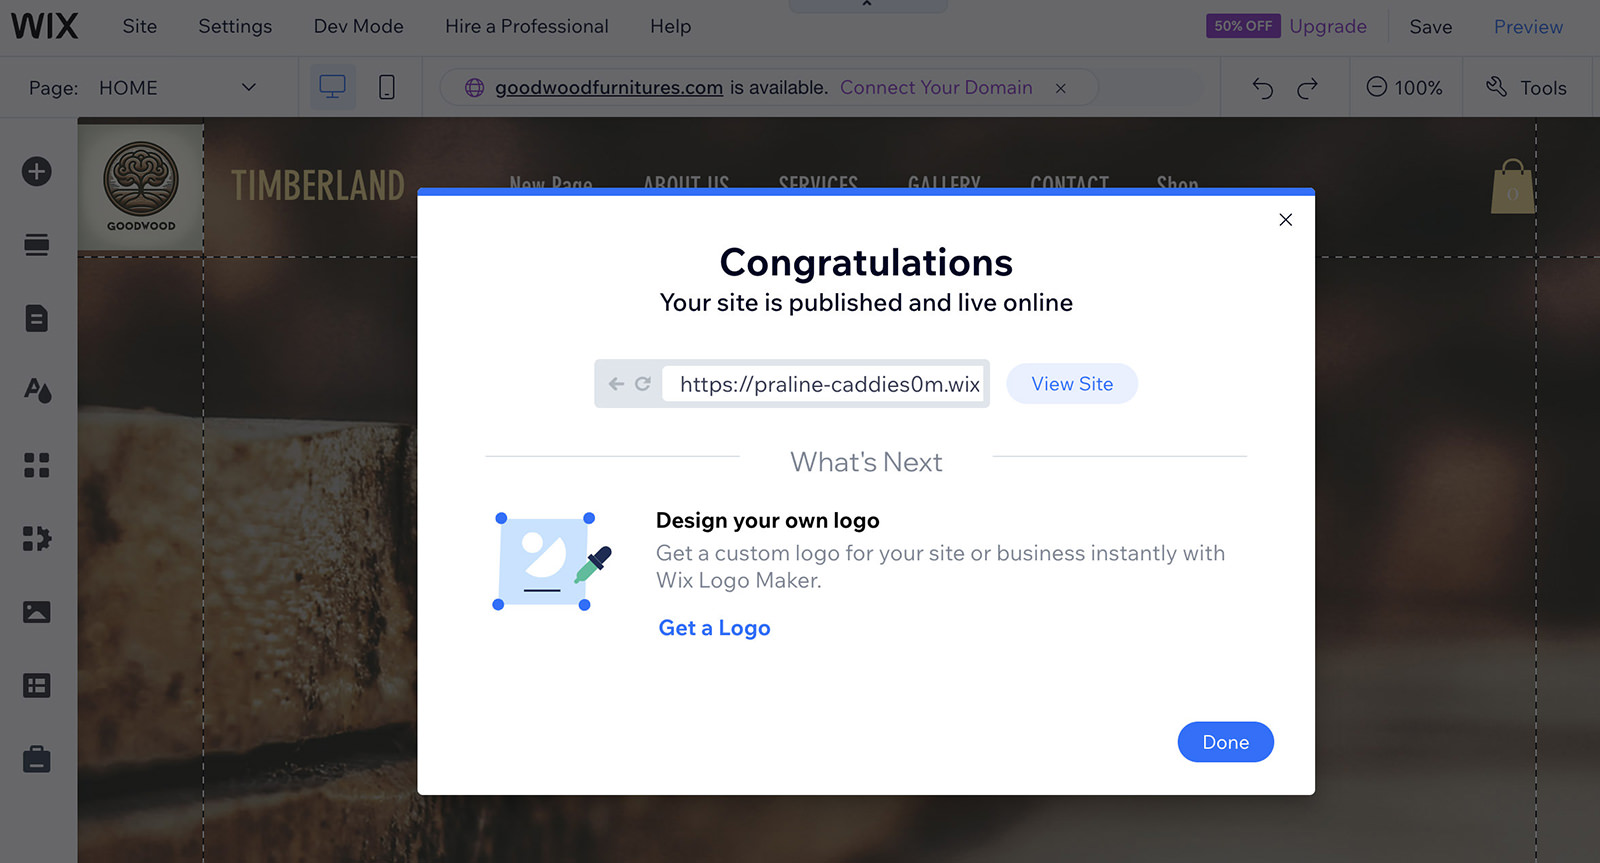
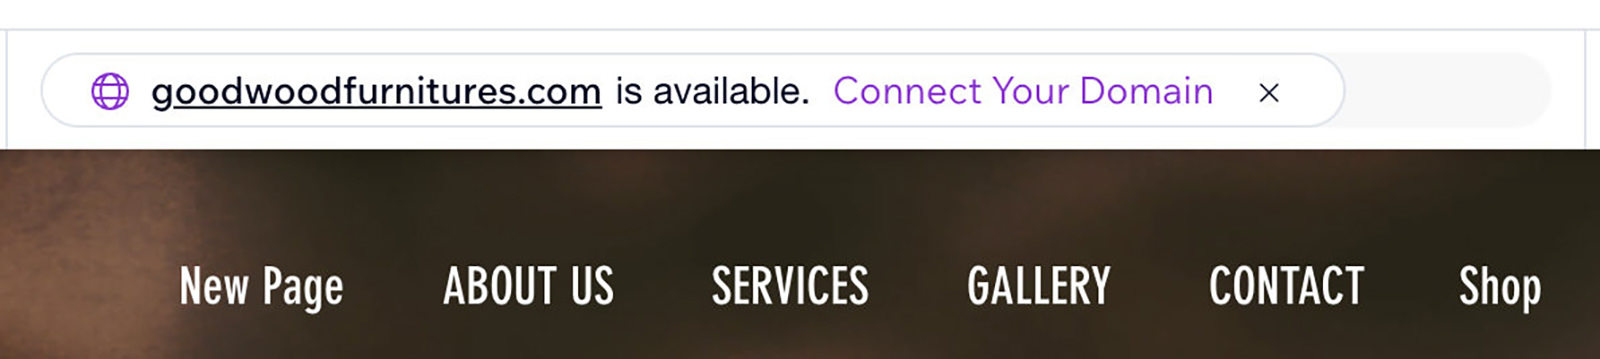
You may both hyperlink a website you already personal or discover a new one to buy. After selecting your area, Wix will information you thru the acquisition choices and pricing.
After publishing, you’ll entry your enterprise dashboard, a hub for insights in your web site’s efficiency, together with buyer leads and get in touch with particulars gathered by your web site.
Upgrading to a premium plan affords further options like SEM and search engine optimization instruments, and the power to run adverts on platforms like Google, Fb, and Instagram. You’ll additionally acquire entry to detailed analytics, equivalent to web site visits and consumer conduct.
Some options can be found with the free plan, whereas others require a subscription.
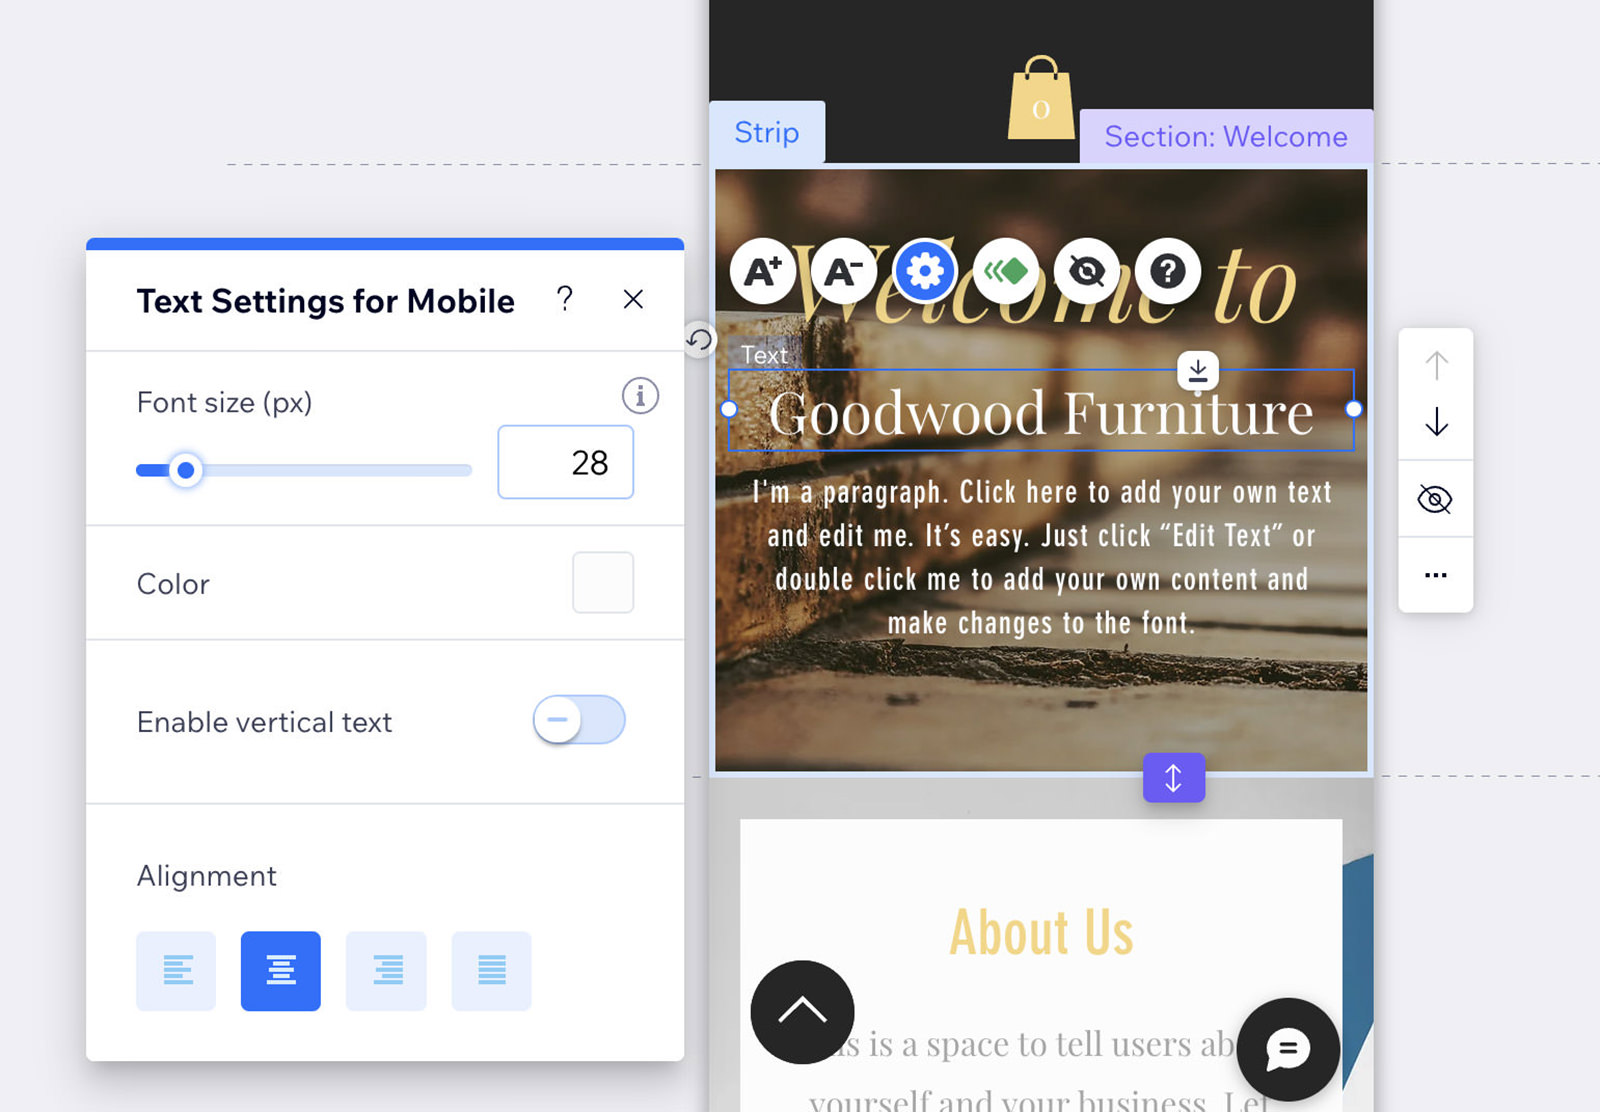
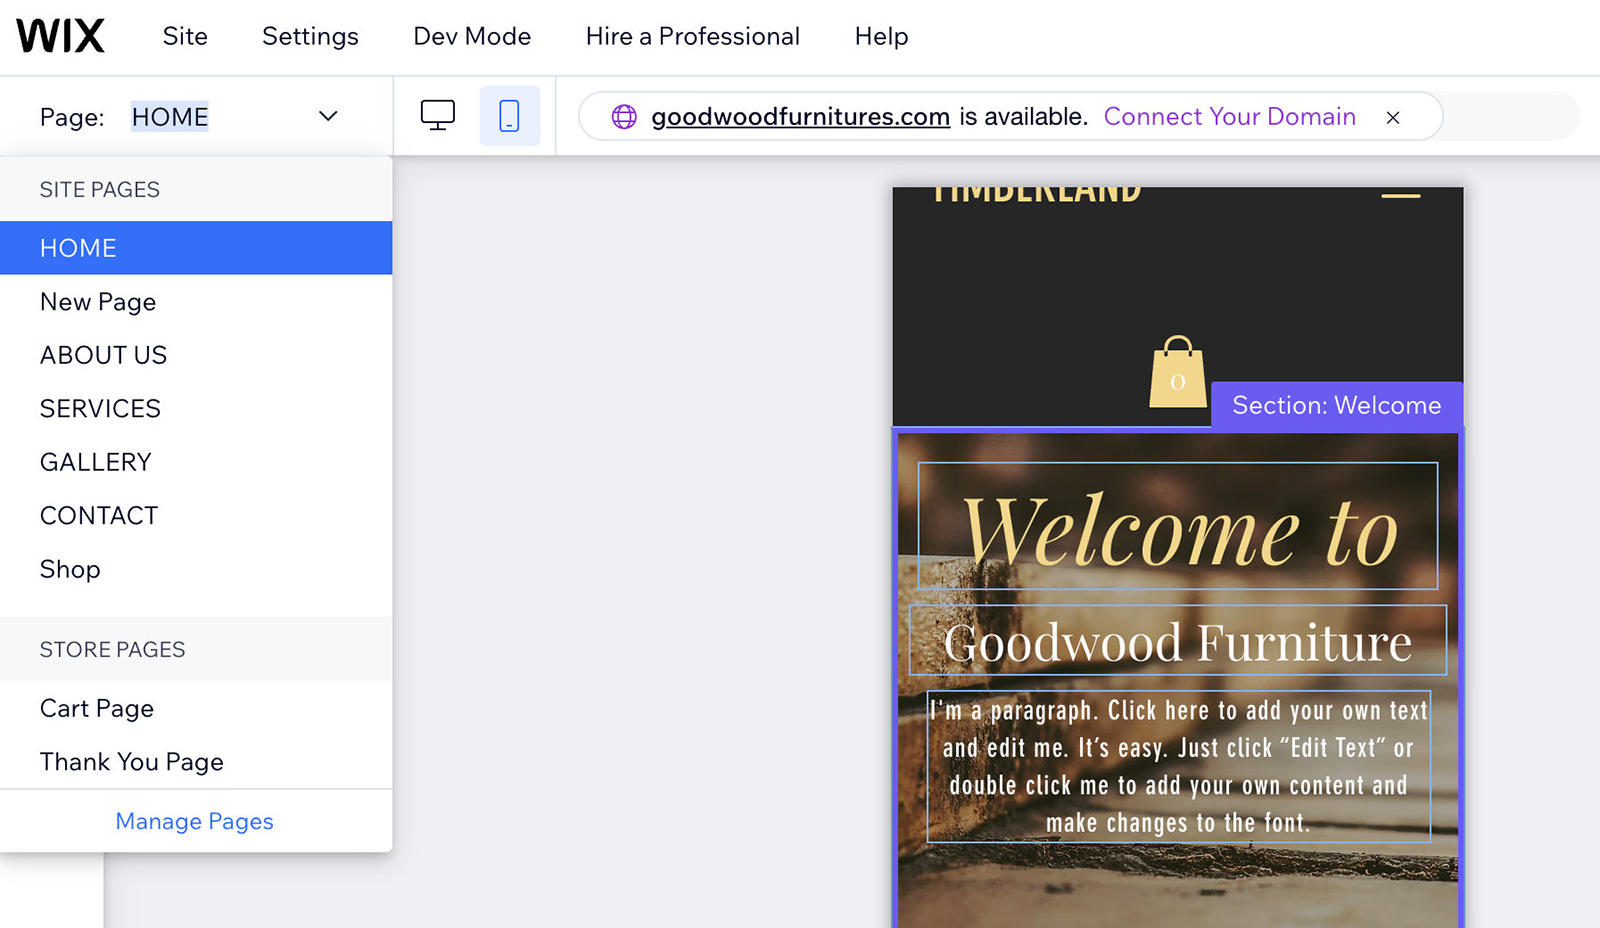
Optimizing Your Website for Cell Viewing
Whereas constructing your web site, you will have seen the desktop icon within the higher left-hand nook. Let’s see how your web site seems to be on cell gadgets by choosing ‘Swap to Cell’.
Wix mechanically optimizes your web site based mostly on the design components you’ve chosen. Keep in mind, modifications made within the cell editor gained’t have an effect on the desktop model.
As an illustration, you may wish to scale back textual content measurement for higher steadiness on cell screens or change photos to enhance load instances.
To optimize different pages for cell, navigate to the left-hand facet, choose the web page you want to edit, and make vital changes.
After guaranteeing your web site seems to be nice on each cell and desktop, you’re able to publish.
Ultimate Ideas
Every part we’ve created right now is on the market by Wix’s free plan. If you happen to determine to improve to a premium plan, you’ll obtain advantages like a free area, the power to just accept on-line funds, handle bookings, and take away all Wix adverts.
And that’s it – we’ve simply created a web site from scratch totally free utilizing Wix. I hope this helps!
Leave a Reply